
A single undetected leak doesn’t just damage a wall; it initiates a microbial clock that can compromise an entire facility’s structural integrity and legal standing within 48 hours. With consumers increasingly being able to process information, property managers and risk analysts can no longer rely on reactive, biocide-heavy protocols.
To return a property to a Condition 1 status, professionals must follow a strategic, defensible workflow. Below are the ten essential steps for effective remediation that align with modern building science and liability mitigation.
The Evolution of Professional Standards in Microbial Remediation
The paradigm of mold remediation has undergone a significant transformation with the release of the ANSI/IICRC S520-2024 Standard. For years, the industry operated under reactive protocols that prioritized the suppression of mold through chemical biocides. However, the latest scientific consensus emphasizes a more rigorous approach: physical source removal. This shift is not merely a change in technique but a fundamental reassessment of the “standard of care” required to return a property to a Condition 1 status, defined as a normal fungal ecology.
Modern remediation now accounts for “Condition 2” contamination, which includes hazardous airborne mold spores and fragments that may be invisible to the naked eye. Furthermore, the explicit inclusion of mycotoxins and the extracellular matrix (ECM) in updated standards reflects a deepening understanding of how mold impacts human health beyond simple allergic reactions. For property managers, this scientific shift translates into higher legal stakes; recent 2025 litigation, such as the $6.6 million judgment in Las Vegas, underscores that failure to follow these structured protocols can lead to catastrophic financial and negligence-based liabilities.
Step 1: Conduct a Professional Assessment and Establish Scope
The foundation of any defensible remediation project is a comprehensive assessment conducted by an independent third-party Indoor Environmental Professional (IEP). By separating the assessment from the actual remediation work, property managers eliminate conflicts of interest, ensuring the project is neither over-scoped nor under-scoped—a key component of risk management in 2026.
A professional assessment goes far beyond a visual inspection. It utilizes advanced diagnostic tools, such as infrared thermography to detect hidden moisture and moisture meters to quantify the dampness of building materials. The IEP identifies the moisture source, maps the affected areas, and determines the current IICRC fungal condition. This data is then synthesized into a detailed Scope of Work (SOW) that specifies remediation methodologies, containment requirements, and clearance criteria, serving as a vital “legal shield” for insurance claims and potential litigation.
Step 2: Identify and Permanently Resolve the Moisture Source
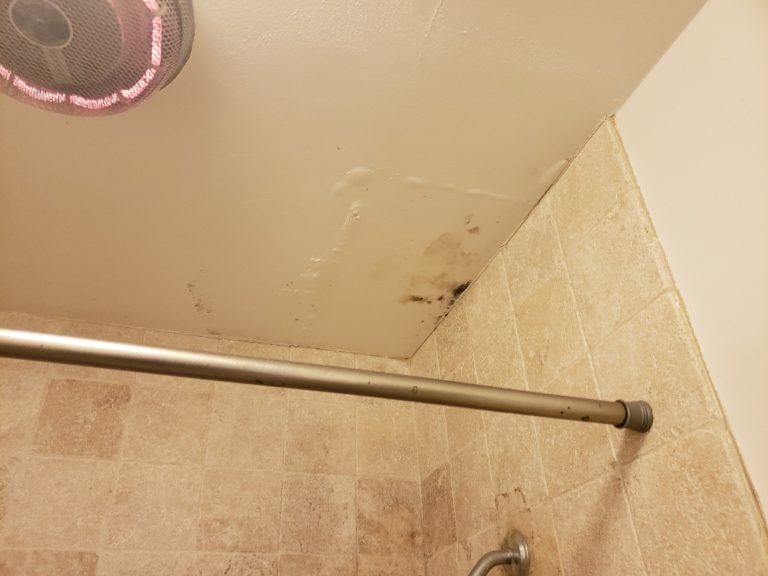
The core tenet of building science remains absolute: moisture control is the only true way to achieve mold control. Because mold spores are ubiquitous, growth will inevitably occur on damp organic surfaces within 24 to 48 hours of exposure. Therefore, remediation is futile unless the underlying water intrusion is permanently repaired.
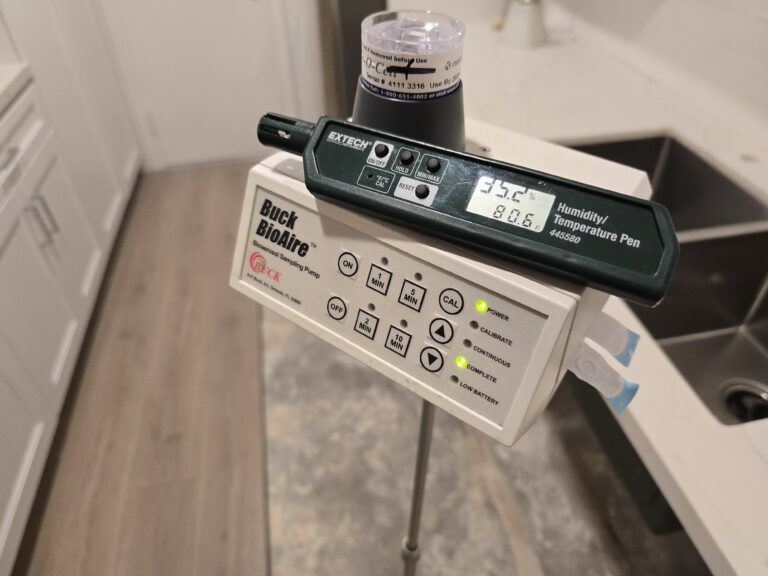
In commercial environments, this requires a forensic look at roof leaks, HVAC condensation, plumbing failures, or poor site drainage. For 2026, the EPA recommends maintaining indoor relative humidity below 60%, and ideally between 30% and 50%, to prevent microbial amplification. Property managers must ensure that the “24 to 48-hour rule” for drying is strictly followed during the remediation process itself to prevent new growth from colonizing the work area.
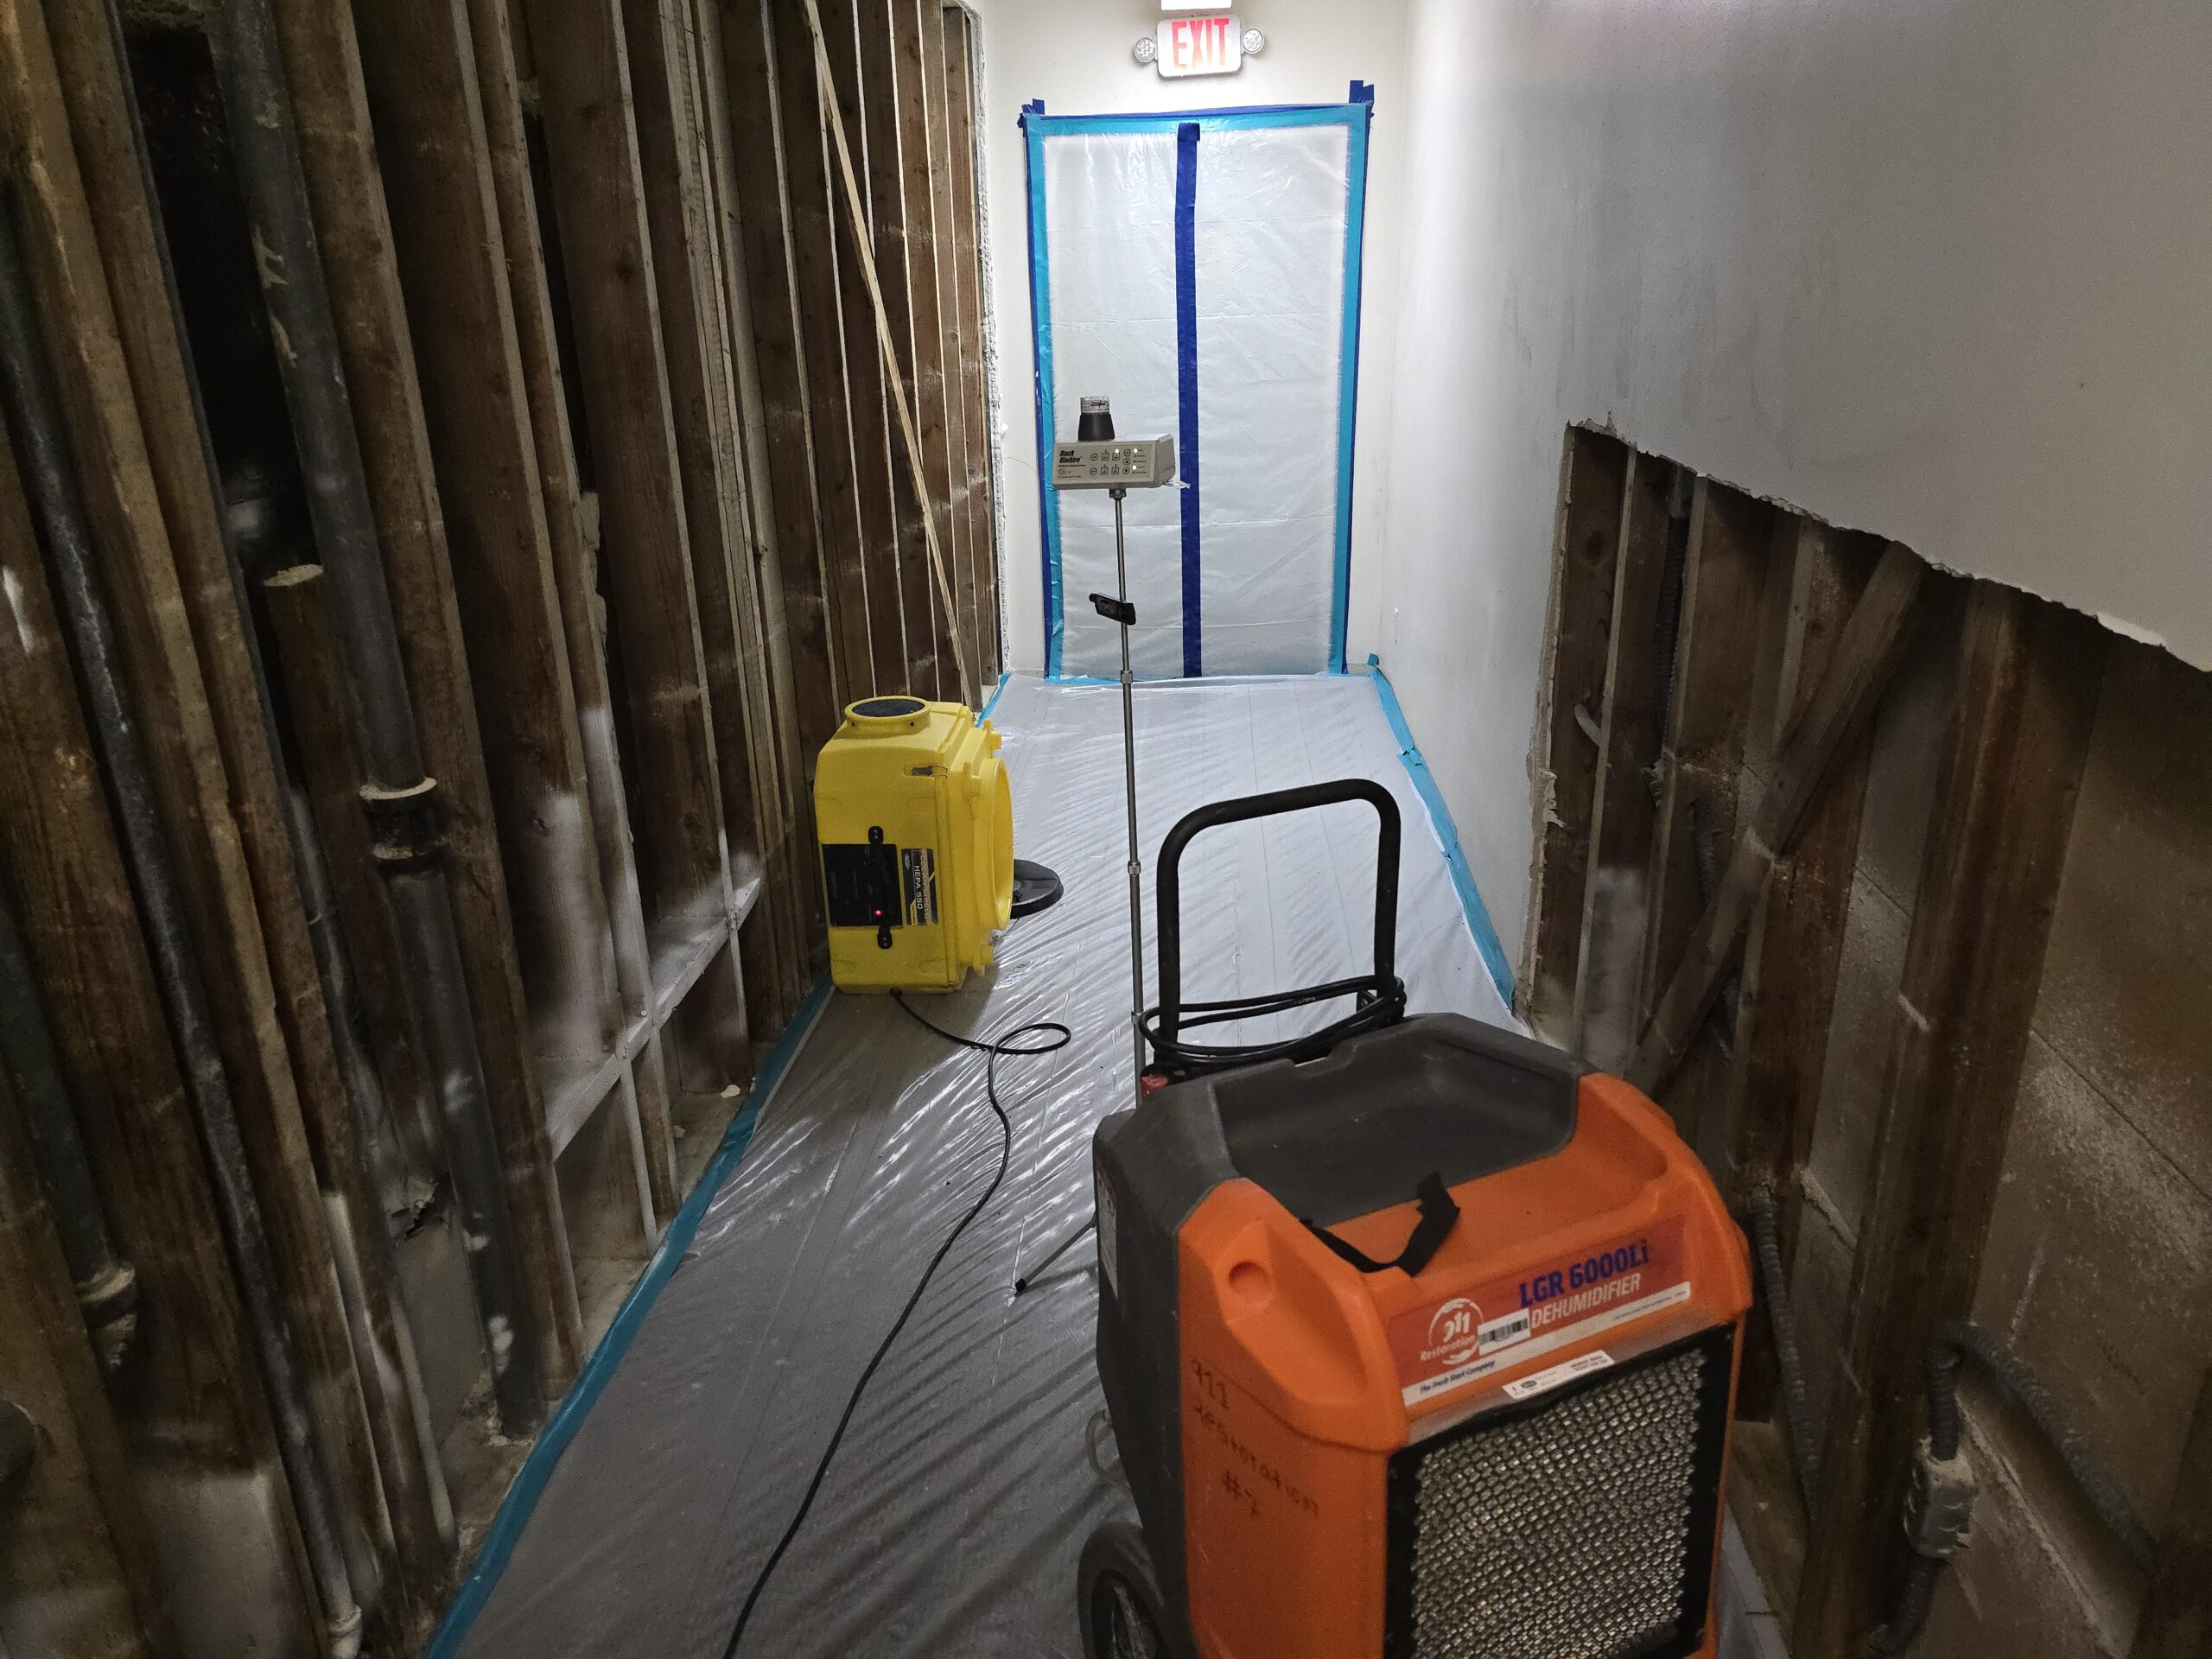
Step 3: Establish Advanced Engineering Controls and Containment
Once the moisture source is neutralized, the affected area must be isolated to prevent the cross-contamination of unaffected “Condition 1” zones. Professional remediation utilizes physical barriers, typically 6-mil polyethylene sheeting, to separate the contaminated environment from occupied spaces. Unlike DIY methods that often disperse spores, professional containment creates a literal “sealed envelope”.
The most critical component of this step is the implementation of negative air pressure. By utilizing high-efficiency particulate air (HEPA) filtered air filtration devices (AFDs), remediators ensure that air flows into the containment area and is exhausted outside the building. This pressure differential prevents airborne spores and mycotoxins from escaping through wall cavities or gaps during the movement of personnel. For larger “Level III” projects exceeding 100 square feet, this setup must include airlocks and dedicated decontamination rooms to maintain facility-wide safety.
Step 4: Equip Personnel with Mandatory Personal Protective Equipment (PPE)
In high-liability commercial environments, the health and safety of remediators and occupants are paramount. Mold remediation subjects workers to high concentrations of aerosolized spores, fragments, and mycotoxins, which can lead to significant respiratory and toxic effects. Adhering to OSHA regulations for PPE is not just a safety measure but a critical component of institutional risk management.
For 2026, safety protocols are categorized by project scale. Minimum protection for small areas includes N-95 respirators and gloves, while larger “Level III” projects (over 100 sq. ft.) require full-body disposable Tyvek suits and full-face powered air-purifying respirators (PAPRs). Beyond equipment, all personnel must be fit-tested and medically cleared to work in high-exertion, high-heat containment environments.
Step 5: Execute Physical Source Removal of Contaminated Materials
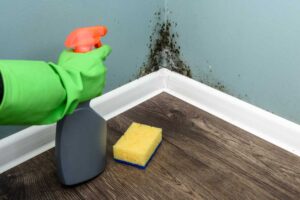
The defining principle of the ANSI/IICRC S520-2024 Standard is physical source removal. In 2026, “painting over” or “encapsulating” mold is recognized as a failure to meet the standard of care, as it often leads to structural failure or hidden microbial amplification. The methodology for removal is determined by the porosity of the affected materials:
- Porous Materials: Items such as drywall, insulation, and carpeting cannot be effectively decontaminated once infiltrated. These must be removed in large sections to minimize dust, double-bagged in 6-mil plastic, and HEPA-vacuumed before being transported out of containment.
- Semi-Porous Materials: Wood framing and masonry can often be salvaged through aggressive cleaning methods like abrasive blasting or sanding to remove superficial growth.
- Non-Porous Materials: Metal, glass, and certain plastics are decontaminated through a rigorous process of HEPA vacuuming and antimicrobial treatment.
Step 6: Execute Advanced HEPA Vacuuming and Surface Decontamination
After the physical removal of contaminated materials, the remaining structural elements and surfaces within the containment must undergo a meticulous decontamination process. The IICRC S520-2024 emphasizes the “HEPA sandwich” method: HEPA vacuuming, followed by damp-wiping with an antimicrobial solution, and a final round of HEPA vacuuming.
This process is vital for removing settled spores (Condition 2), mycotoxins, and the extracellular matrix (ECM) that can linger even after the visible mold is gone. HEPA vacuums are specialized tools equipped with filters that capture 99.97% of particles down to 0.3 microns. Standard household vacuums are insufficient and can actually worsen the problem by exhausting spores back into the air.
Cleaning Method | Surface Type | Description |
Wet Vacuum | Floors, hard surfaces | Used to collect standing water; not for porous materials |
Damp Wipe | Non-porous surfaces | Wiping or scrubbing with water and detergent |
HEPA Vacuum | All surfaces | Removing fine particulate and spores from surfaces |
Abrasive Cleaning | Wood, masonry | Mechanical removal of growth from semi-porous surfaces |
The 2024 update specifically addresses mycotoxins 56 times, confirming the industry consensus that they can be effectively remediated through physical source removal and thorough cleaning rather than chemical neutralization. This technical rigor is what ensures the safety of the environment for sensitive occupants.
Step 7: Achieve Stabilized Structural Drying and Psychrometric Control
Removing the mold is only half the battle; the structure must be returned to an equilibrium moisture content (EMC) that does not support future microbial growth. If reconstruction begins while materials are still damp, mold will inevitably return behind new walls, creating hidden infestations and significant future liability.
Professional remediators utilize industrial-grade LGR (Low Grain Refrigerant) dehumidifiers and high-axial air movers to accelerate evaporation. In 2026, this process is guided by the science of psychrometrics; monitoring the temperature, relative humidity, and dew point within the containment zone to ensure optimal drying conditions. Professionals must document moisture readings daily to verify that the 24to 48-hour rule for drying is maintained, preventing any regrowth during the remediation project itself.
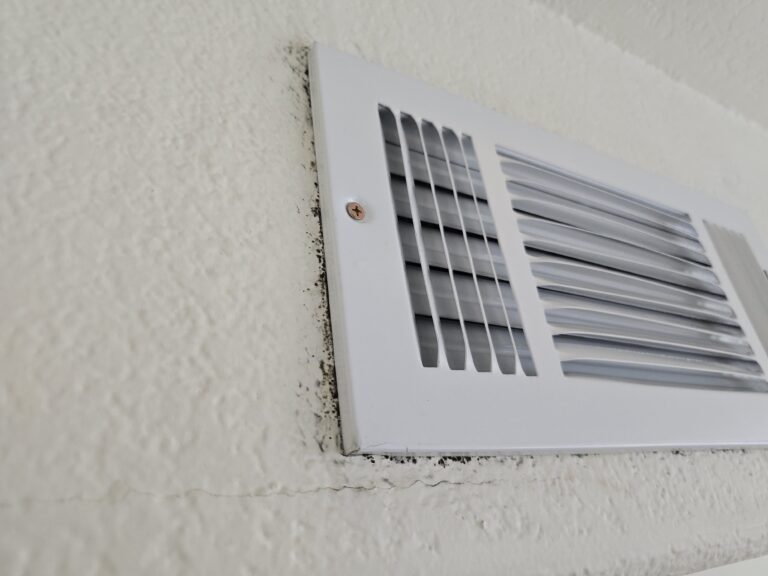
Step 8: Perform HVAC Remediation and Precision Duct Cleaning
HVAC systems are often the primary vehicle for cross-contamination. If spores enter the ventilation system, they can be distributed throughout the entire building, creating a widespread “Condition 2” environment. The ANSI/IICRC S520-2024 provides specific protocols for air handling units (AHUs) and ductwork, emphasizing that systems must remain deactivated during remediation to prevent spore dispersal.
For 2026, the strategy shifts from simple vacuuming to a detailed forensic cleaning of internal components. If mold is detected on fiberglass-lined ducts, the standard now dictates complete replacement rather than cleaning, as porous liners cannot be fully decontaminated. Regular maintenance of drip pans and quarterly filter changes are cited as the most effective preventive actions for commercial risk managers.
Step 9: Complete Independent Post-Remediation Verification (PRV)
The final technical hurdle of any professional project is Post-Remediation Verification (PRV). This is a formal inspection and assessment performed by an independent third-party Indoor Environmental Professional (IEP) after cleaning is finished but before containment is removed. The PRV provides the documented proof that the area has been returned to a “Condition 1” status.
A successful PRV in 2026 involves a three-pronged validation:
- Visual and Olfactory Inspection: Ensuring no visible dust, debris, or musty odors remain.
- Moisture Testing: Verifying all materials have reached their dry standard.
- Environmental Sampling: Comparing indoor air and surface samples against outdoor baselines to ensure fungal populations are similar. If the site fails any of these criteria, the remediator must re-clean and re-verify until a “pass” is achieved.
Step 10: Manage Reconstruction with Building Science and Prevention
Reconstruction is the final phase of returning the property to normal use. However, it should not be viewed as simply a construction task. Building science should guide the selection of materials to minimize the risk of future growth. This includes the use of mold-resistant drywall, moisture-resistant paints, and improved ventilation in high-risk areas like bathrooms and basements.
A comprehensive long-term prevention plan must also be implemented. This includes:
- Quarterly inspections of roofs, gutters, and plumbing systems.
- Annual HVAC maintenance and cleaning.
- Ongoing monitoring of indoor humidity levels.


