
The Wood Porosity Reality Check
Can You Really Clean Mold from Wood? (The Truth About Porosity)
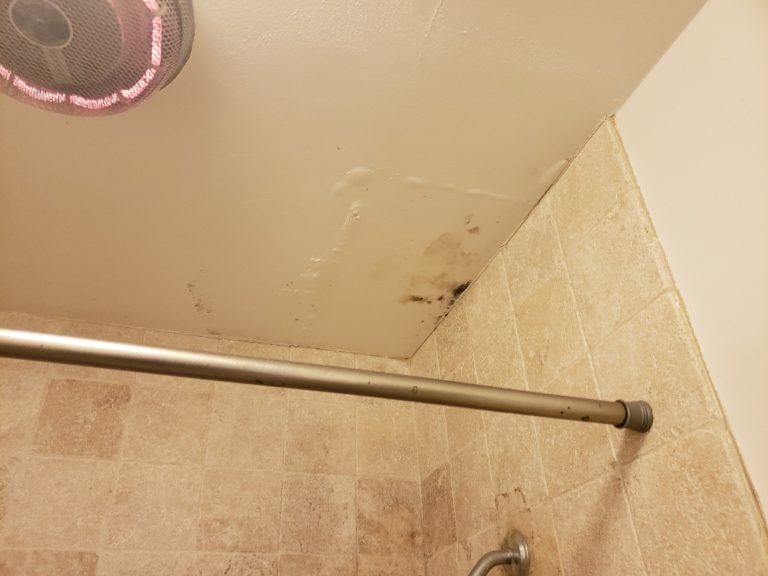
If you’ve discovered fuzzy green patches or black splotches on your floorboards or attic beams, your first instinct is likely to grab a bottle of bleach. But that is not advisable. While you can clean mold from wood, using the wrong method is likely to make things worse. On non-porous surfaces like tile or glass, mold sits on top. But wood is organic and porous; it features a microscopic network of straws that mold uses to tunnel deep into the material.
The Science of the Roots
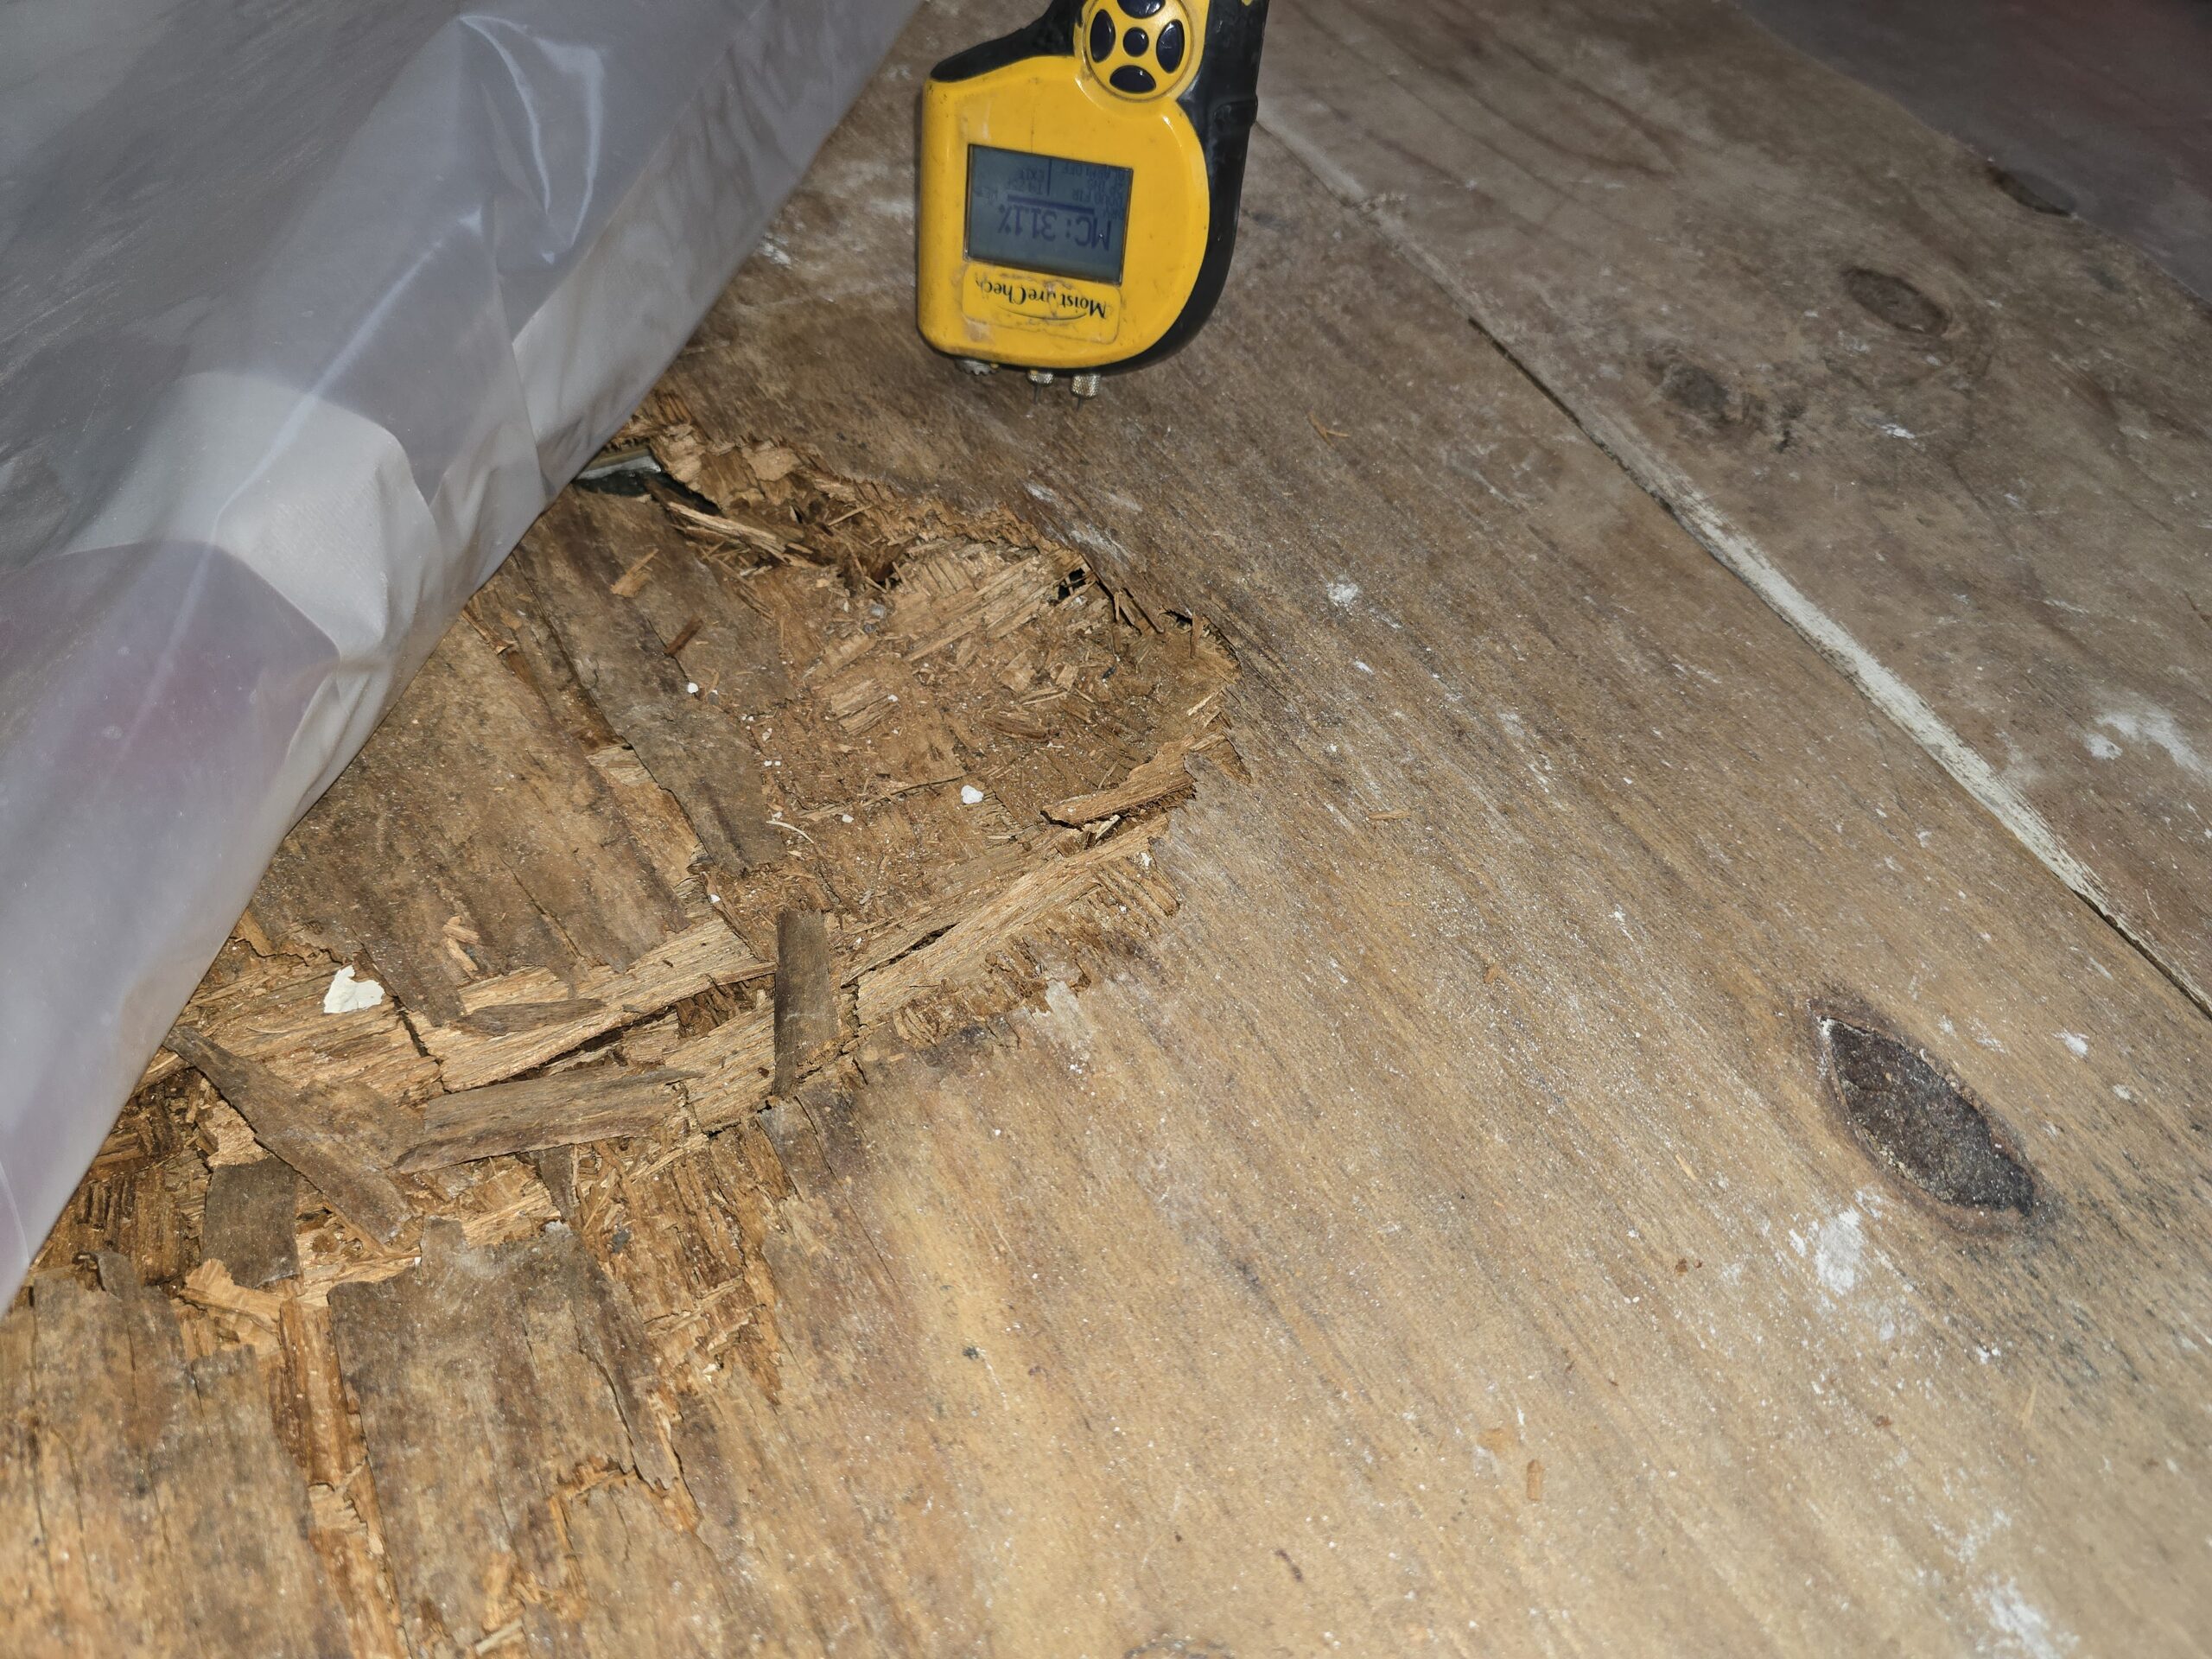
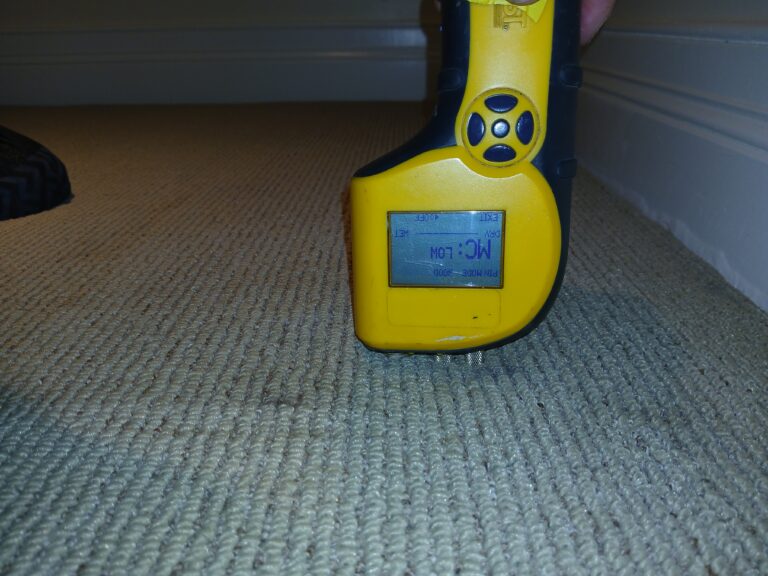
Mold doesn’t just sit on the surface of wood; it sends out branching filaments called hyphae. If the mold is caught early, it is often a surface-level issue that can be remediated. However, when wood moisture content (MC%) rises above 20%, the mold begins to compromise lignin, the natural glue that holds wood fibers together.
The Verdict: Clean or Replace?
You can successfully clean mold from wood if the structural integrity is still intact. However, if the wood feels soft or the mold has bypassed the surface to feed on the internal fibers, cleaning is no longer an option, replacement is.
Expert Note: In 2026, professional standards (like the IICRC S520) emphasize that killing the mold isn’t enough; it must be physically removed because even dead spores can trigger allergic reactions.
The HEPA Sandwich Technique (Step-by-Step)
When dealing with porous materials like wood, professional remediation follows the IICRC S520 Standard. The HEPA Sandwich is the gold standard because it focuses on physical removal, not just killing the spores.
Step 1: Initial HEPA Vacuuming
Before applying any liquids, use a vacuum equipped with a HEPA filter. Standard shop vacs often exhaust microscopic spores back into the room. This initial pass captures loose, dry spores on the surface, preventing them from becoming airborne during the agitation phase.
Step 2: Applying the Killing Agent (The No-Bleach Rule)
In 2026, the shift toward 12% Hydrogen Peroxide or Distilled White Vinegar has largely replaced bleach in eco-conscious remediation.
- The Bleach Myth: Bleach is approximately 90% water. While the chlorine stays on the surface, the water soaks into the wood, essentially “watering” the mold roots (hyphae).
- The Pro Choice: 12% Hydrogen Peroxide penetrates deeper into the wood grain to oxidize the mold at the root level without leaving toxic residues.
Step 3: Agitation
Using a stiff-bristled nylon brush, scrub the affected area. You need to work the solution into the wood grain to break up the biofilm, the protective layer mold creates to shield itself. Always scrub in the direction of the wood grain to avoid unnecessary damage to the fibers.
Step 4: The Wipe Down
Use a damp microfiber cloth to wipe away the loosened mold debris. Microfiber is superior to paper towels because its split fibers are designed to trap microscopic particles rather than just pushing them around. Dispose of these cloths in a sealed bag immediately.
Step 5: Final HEPA Vacuum
Once the wood is completely dry (ideally using a dehumidifier to reach <15% Moisture Content), perform a final HEPA vacuum. This top bread of the sandwich ensures that any spores dislodged during scrubbing, but not caught by the wipe, are permanently removed from the environment.
Quick Tip for 2026 DIYers: Always wear a P100 or N95 respirator and nitrile gloves. Even if you are using natural agents like vinegar, the act of agitation releases concentrated allergens into your breathing zone.
When to Walk Away (Repair vs. Replace)
Not every mold discovery is a DIY project. In fact, some mold issues are actually structural failures in disguise. Knowing when to put down the scrub brush and call a professional is the most important part of remediation.
The Screwdriver Test for Structural Integrity
Before you begin the HEPA Sandwich technique, perform a simple physical audit. Take a flat-head screwdriver and press the tip firmly into the discolored area of the wood.
- The Result: If the wood is firm and the screwdriver barely leaves a mark, you are dealing with surface mold. This is treatable.
- The Warning: If the screwdriver sinks easily into the wood or the fibers feel “spongy” or “crumbly,” you aren’t just looking at mold, you have wood rot or fungal decay.
Verdict: Rotted wood cannot be cleaned. The structural lignin has been consumed, and the board must be replaced to ensure the safety of the building.
The 10-Square-Foot Rule
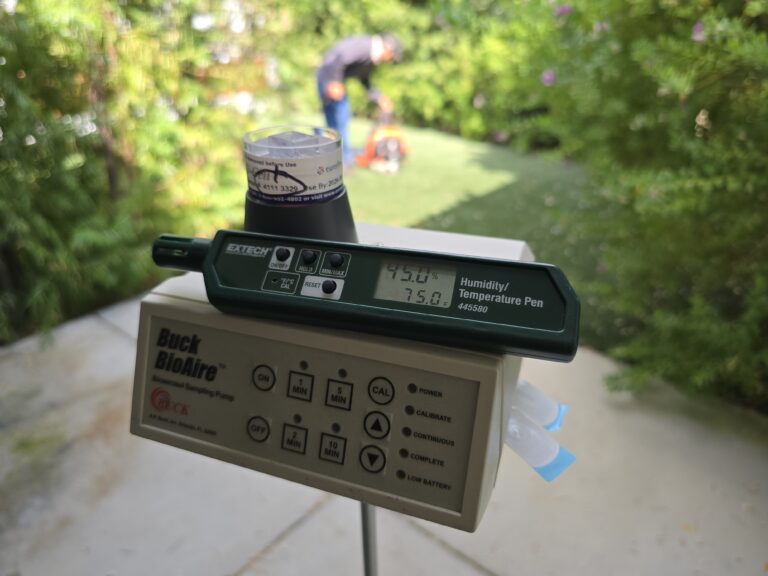
Size matters when it comes to fungal spores. The EPAand most US insurance carriers use a specific threshold to determine when a project transitions from “homeowner maintenance” to “professional remediation.”
- Under 10 Square Feet (approx. 3ft x 3ft): Generally considered safe for a healthy DIYer using proper PPE (N95 mask, gloves, and goggles).
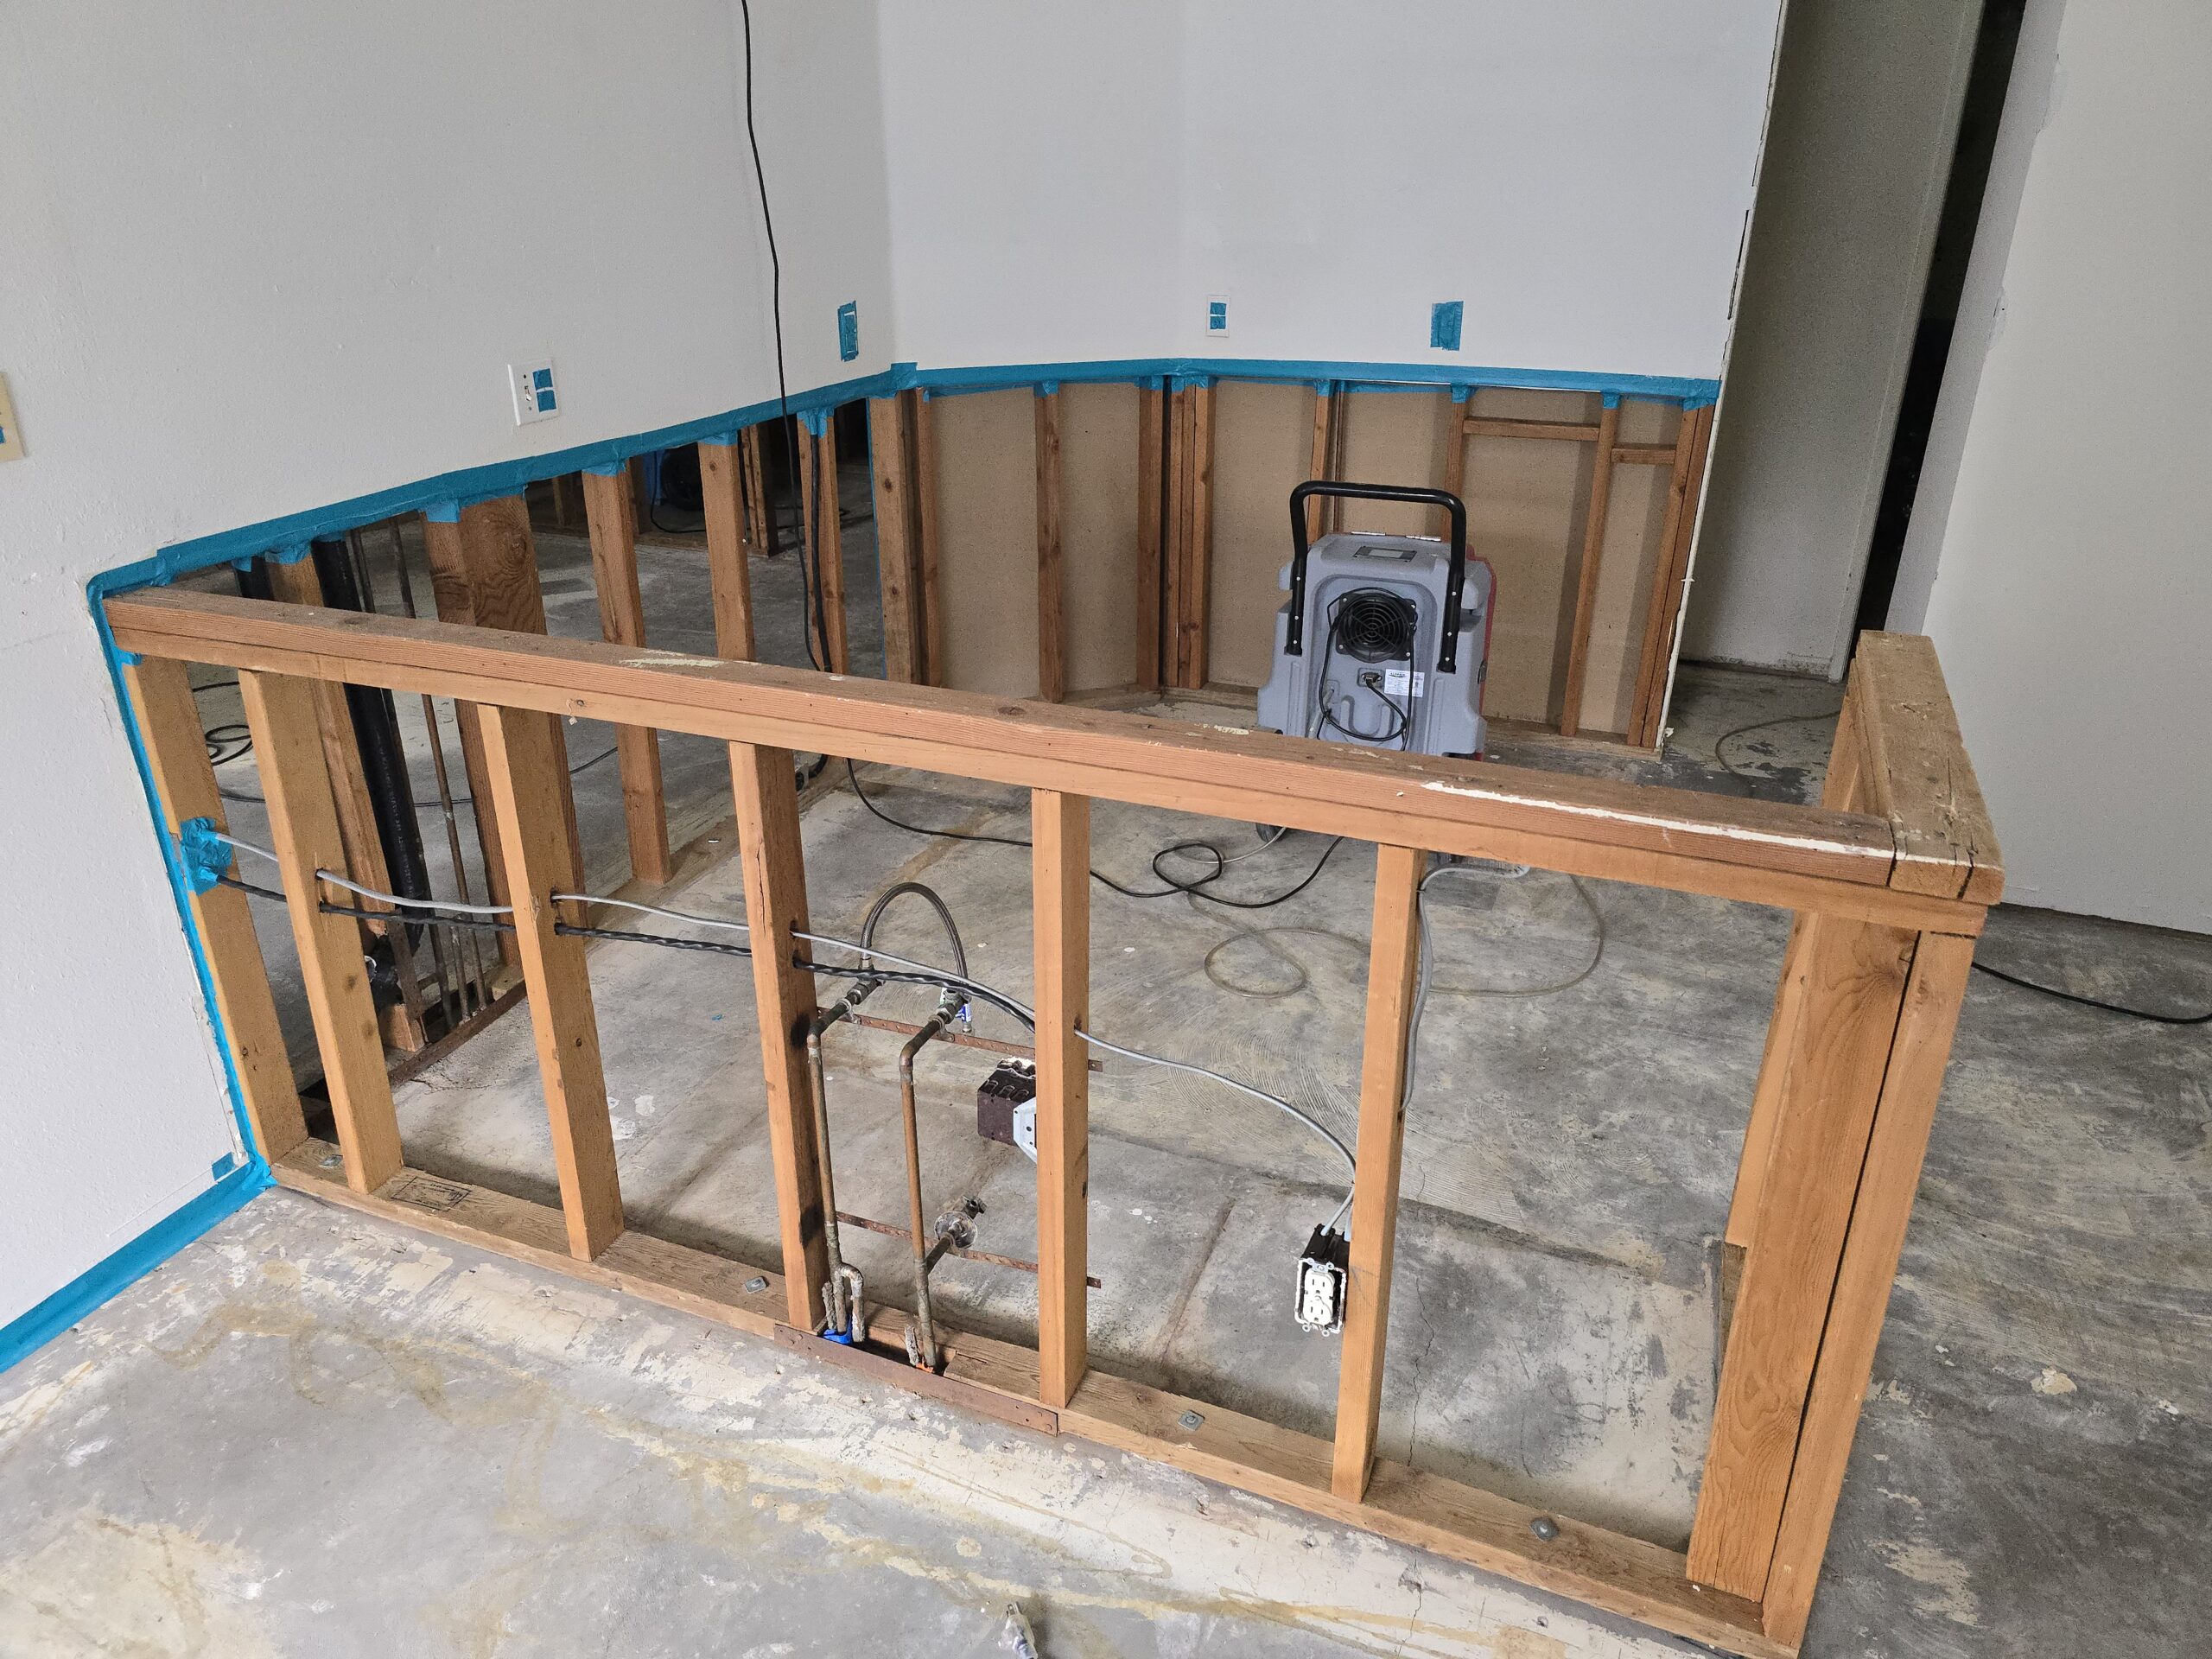
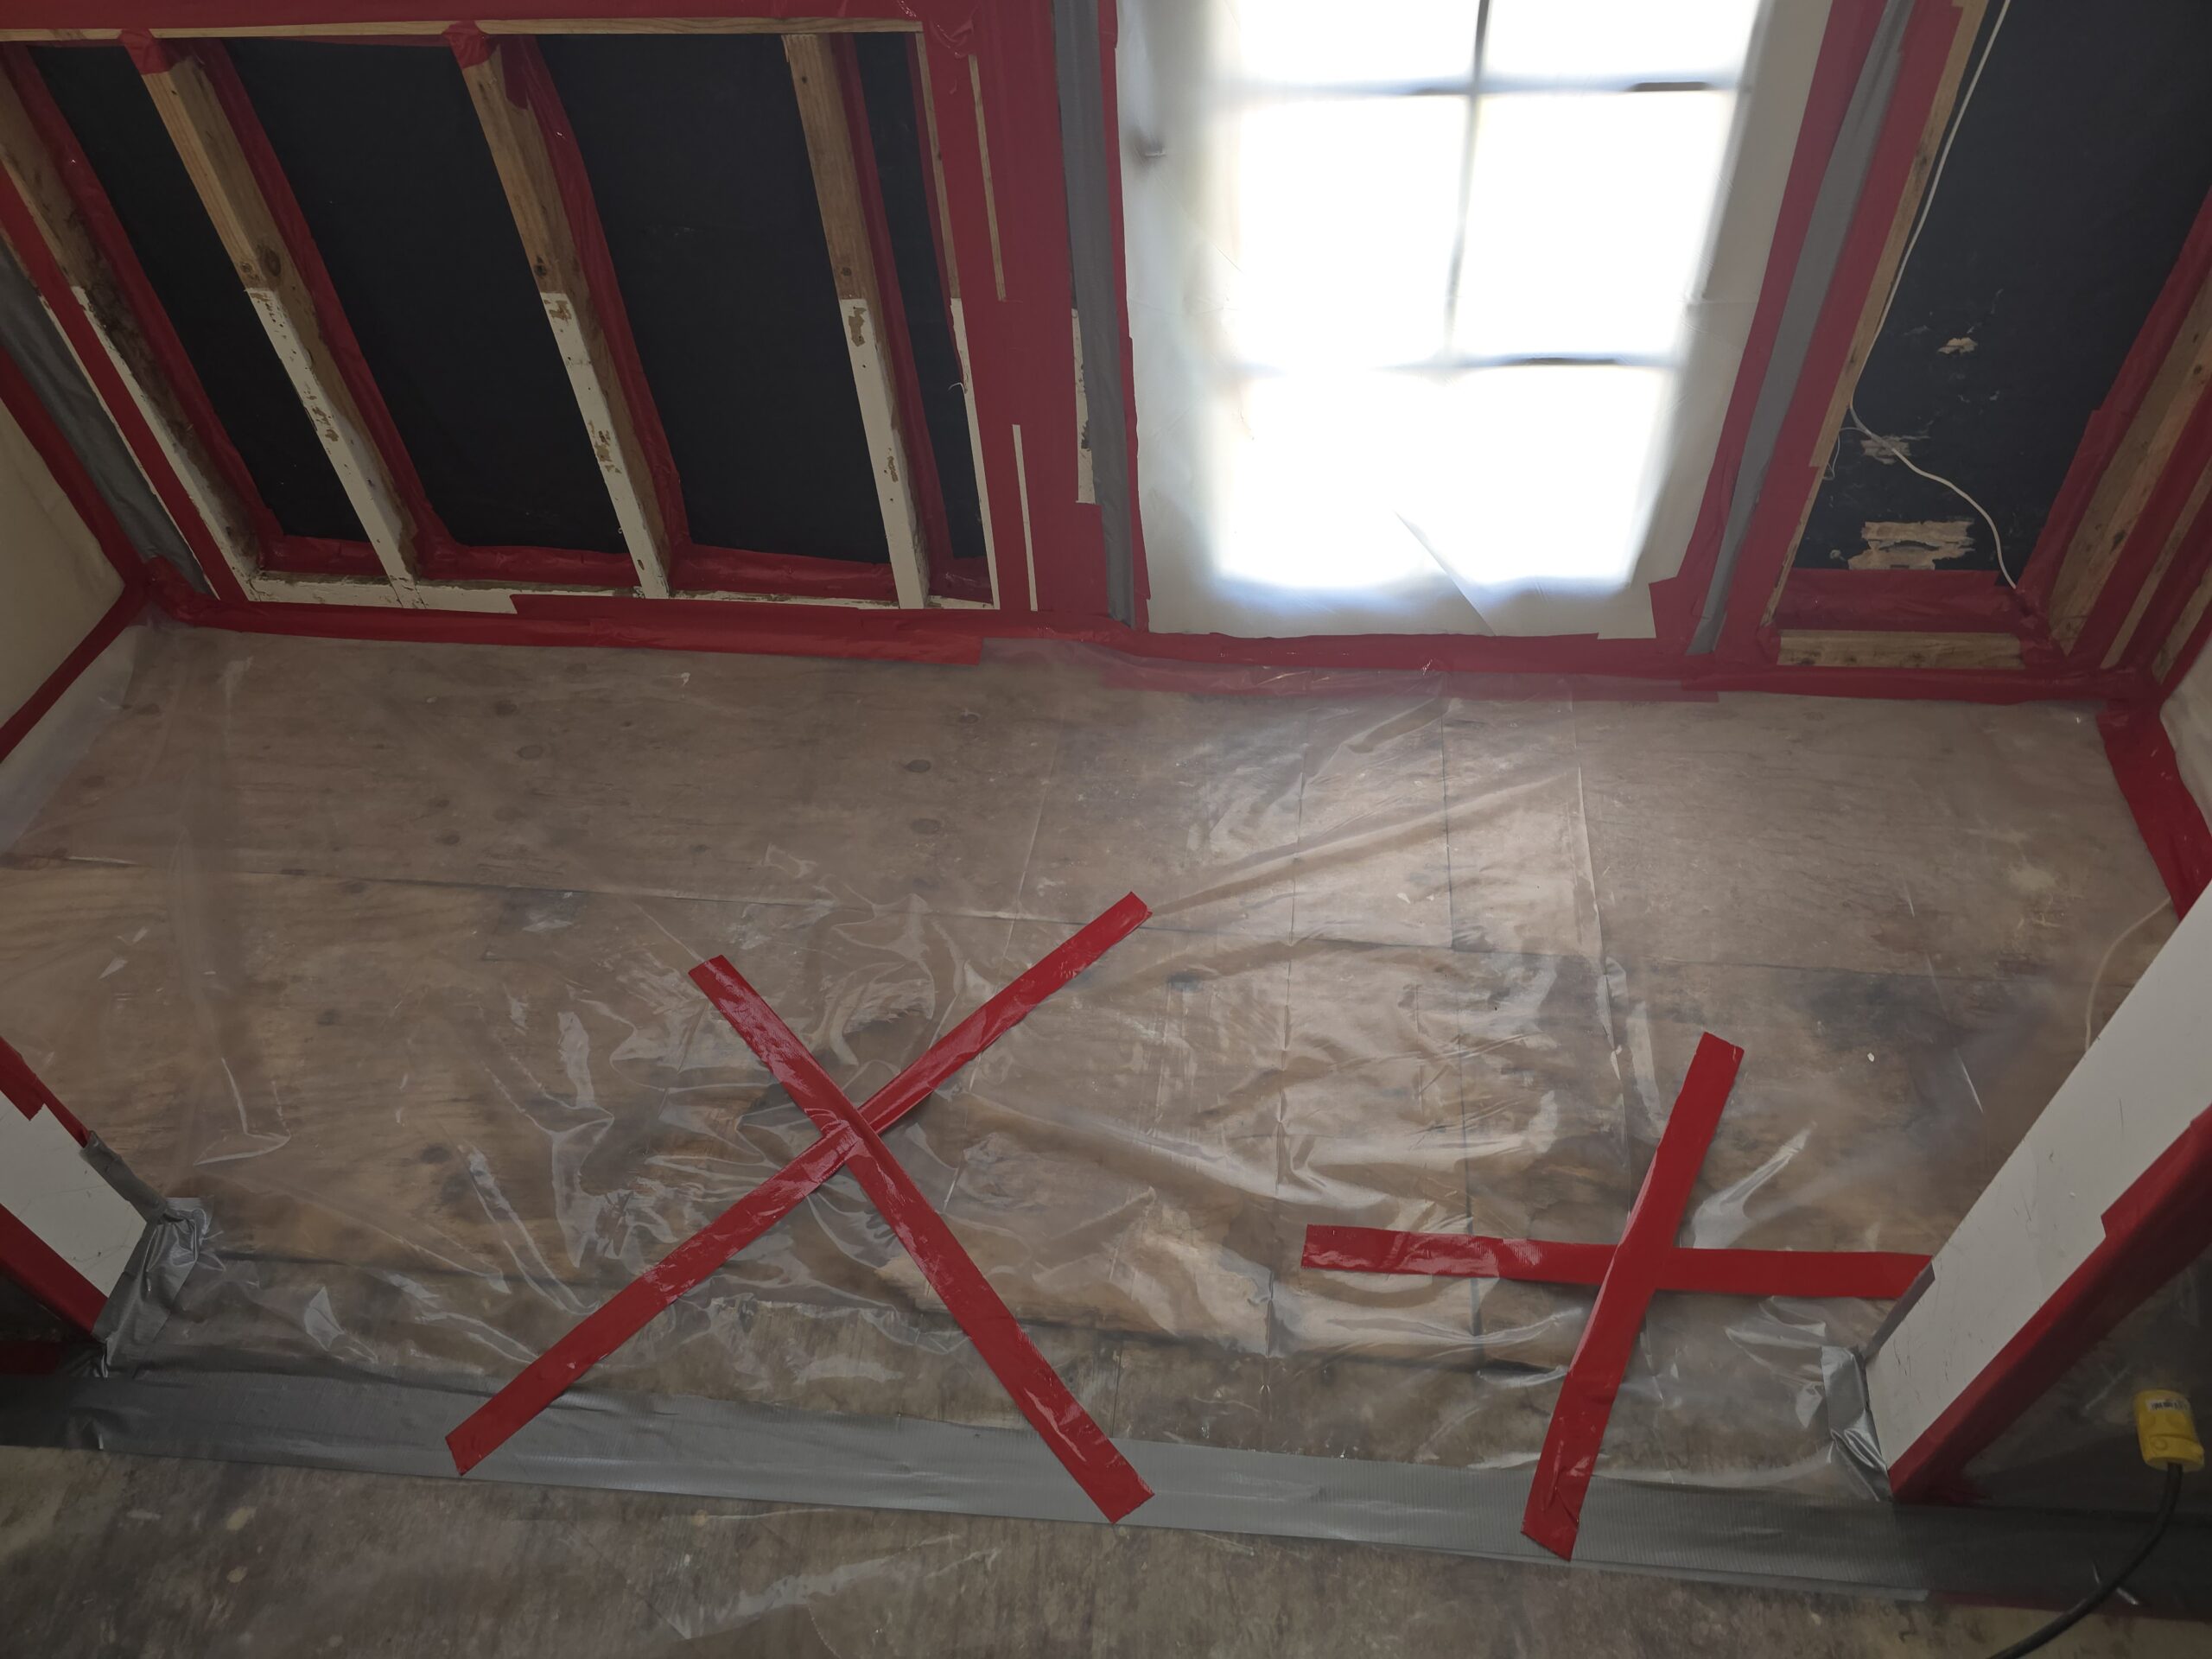
- Over 10 Square Feet: This is the tipping point. Large-scale mold growth requires containment zones (polyethylene sheeting) and negative air machines to prevent cross-contamination of the rest of your home.
According to the EPA’s Guide for Mold Remediation in Schools and Commercial Buildings, projects exceeding this 10-square-foot threshold require professional protocols to ensure that spores are not inadvertently dispersed throughout the building’s ventilation system.
Professional Remediation: When is it Mandatory?
You should skip the DIY route and start searching for “mold remediation near me” if you encounter any of the following:
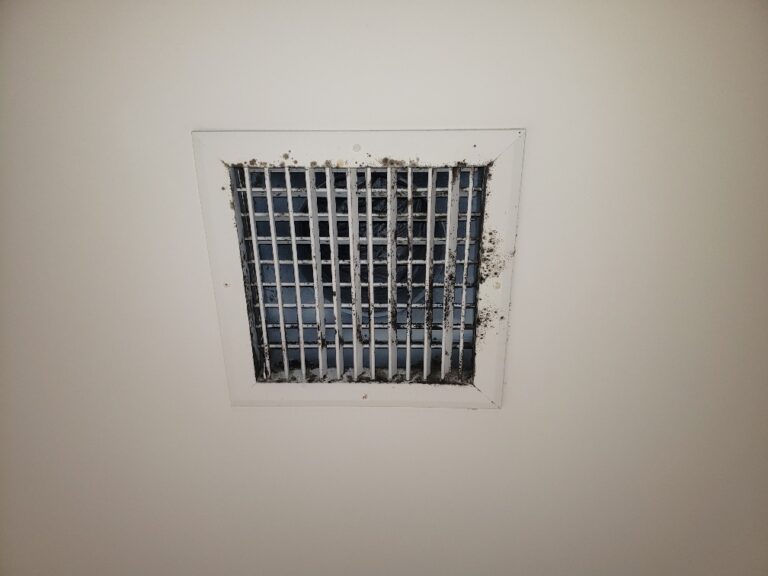
- HVAC Contamination: If you see mold inside your air ducts, do not attempt to clean it. You risk blowing spores into every room of the house.
- Hidden Mold: If you smell a musty odor but can’t see the source (likely behind drywall or under subflooring).
- Health Sensitivity: If anyone in the household suffers from asthma, CIRS (Chronic Inflammatory Response Syndrome), or is immunocompromised.
Prevention and Edible Urbanism
Modern building science is increasingly looking toward edible urbanism for lessons in moisture management. Whether it’s an indoor vertical garden or a structural timber beam, the principles of mold prevention remain the same: airflow and material choice.
In urban agricultural designs, architects prioritize high-ventilation corridors to prevent stagnant air pockets where mold thrives. You can apply this at home by ensuring at least 2–3 inches of breathing room between wooden furniture and exterior walls. Additionally, using wood treatments common in greenhouse construction, such as borate-based sealants, can render the wood fibers indigestible to mold spores without off-gassing toxic chemicals into your home.
FAQ: Your Mold Remediation Questions Answered
To help you navigate the confusing world of mold removal, here are the direct answers to the most common 2026 search queries.
Does bleach kill mold on wood permanently?
No. Bleach is ineffective for permanent mold removal on porous surfaces like wood. While the chlorine “bleaches” the color of the mold, its 90% water content soaks into the wood fibers. This actually feeds the deep-seated roots (hyphae), often leading to a more aggressive regrowth within weeks.
What is the best mold killer for wood?
The most effective DIY solution is undiluted white distilled vinegar (which contains acetic acid that penetrates the grain) or 12% Hydrogen Peroxide. For long-term protection, professional-grade borate solutions (like Bora-Care) are the gold standard for preventing future fungal colonization.
Can moldy wood be reused?
Yes, but with conditions. Moldy wood can only be reused if its structural integrity passes the screwdriver test (no rot) and it has been remediated using the HEPA Sandwich technique. Before reinstalling or painting, the wood must be dried to a moisture content of less than 15% to ensure the mold remains dormant.
When should I call a professional for mold on wood?
If the affected area exceeds 10 square feet, or if the mold has entered your HVAC system, the EPA recommends professional remediation. Attempting to clean large-scale growth without proper containment can cross-contaminate your entire home.
Conclusion: Restoration Begins with Precision
Cleaning mold from wood is a balance of chemistry and mechanics. While the visual disappearance of a stain might offer immediate relief, true remediation requires addressing the microscopic hyphae and the moisture that sustained them. By moving away from the bleach fix and adopting the HEPA sandwich method, you aren’t just cleaning a surface, you are restoring the health of your home’s structural envelope.
Remember, the goal is always to keep your wood moisture content below 15% and to prioritize airflow in every design choice. Whether you’re managing a small DIY project or identifying a larger structural issue that requires professional intervention, staying informed by current IICRC and EPA standards ensures your home remains a safe, breathable environment for years to come.
Meta Description: Stop using bleach on wood! Learn the HEPA Sandwich technique to remove mold at the root, plus the EPA’s 10-sq-ft rule for when to call a professional.
Read More from TheMoldFacts.com
If you found this guide helpful, explore our deep dives into home safety and advanced remediation standards:
- Family Safety Protocol: Identifying and Preventing Black Mold Toxicity Understand the specific health signals of Stachybotrys and why your vacuum’s HEPA filter grade is your first line of defense against toxic spores.
- 10 Steps to Proper Mold Remediation A comprehensive breakdown of the industry-standard workflow, from initial containment to post-remediation verification (PRV) testing.
- The Truth About Attic Mold: Causes and Cures Most wood mold starts at the top of the house. Learn how to identify roof leaks versus condensation issues before they compromise your structural beams.


