
Sump Pump Check Valve Failure: The $15 Fix That Prevents Basement Flooding and Mold
If your home relies on a primary sump pump to keep groundwater out of your basement or crawlspace, there is a tiny, $15 mechanical part that determines whether your pump lasts ten years or burns out during the next torrential rainstorm.
That component is the sump pump check valve.
Despite its small footprint, a failed or missing check valve is one of the leading causes of premature pump motor burnout, sudden basement flooding, and severe fungal contamination.
Here is everything you need to know about how this $15 component works, how sump pump check valve failure leads to hidden mold growth, and four simple diagnostic checks to test your valve before the next storm hits.
What Is a Sump Pump Check Valve and How Does It Work?
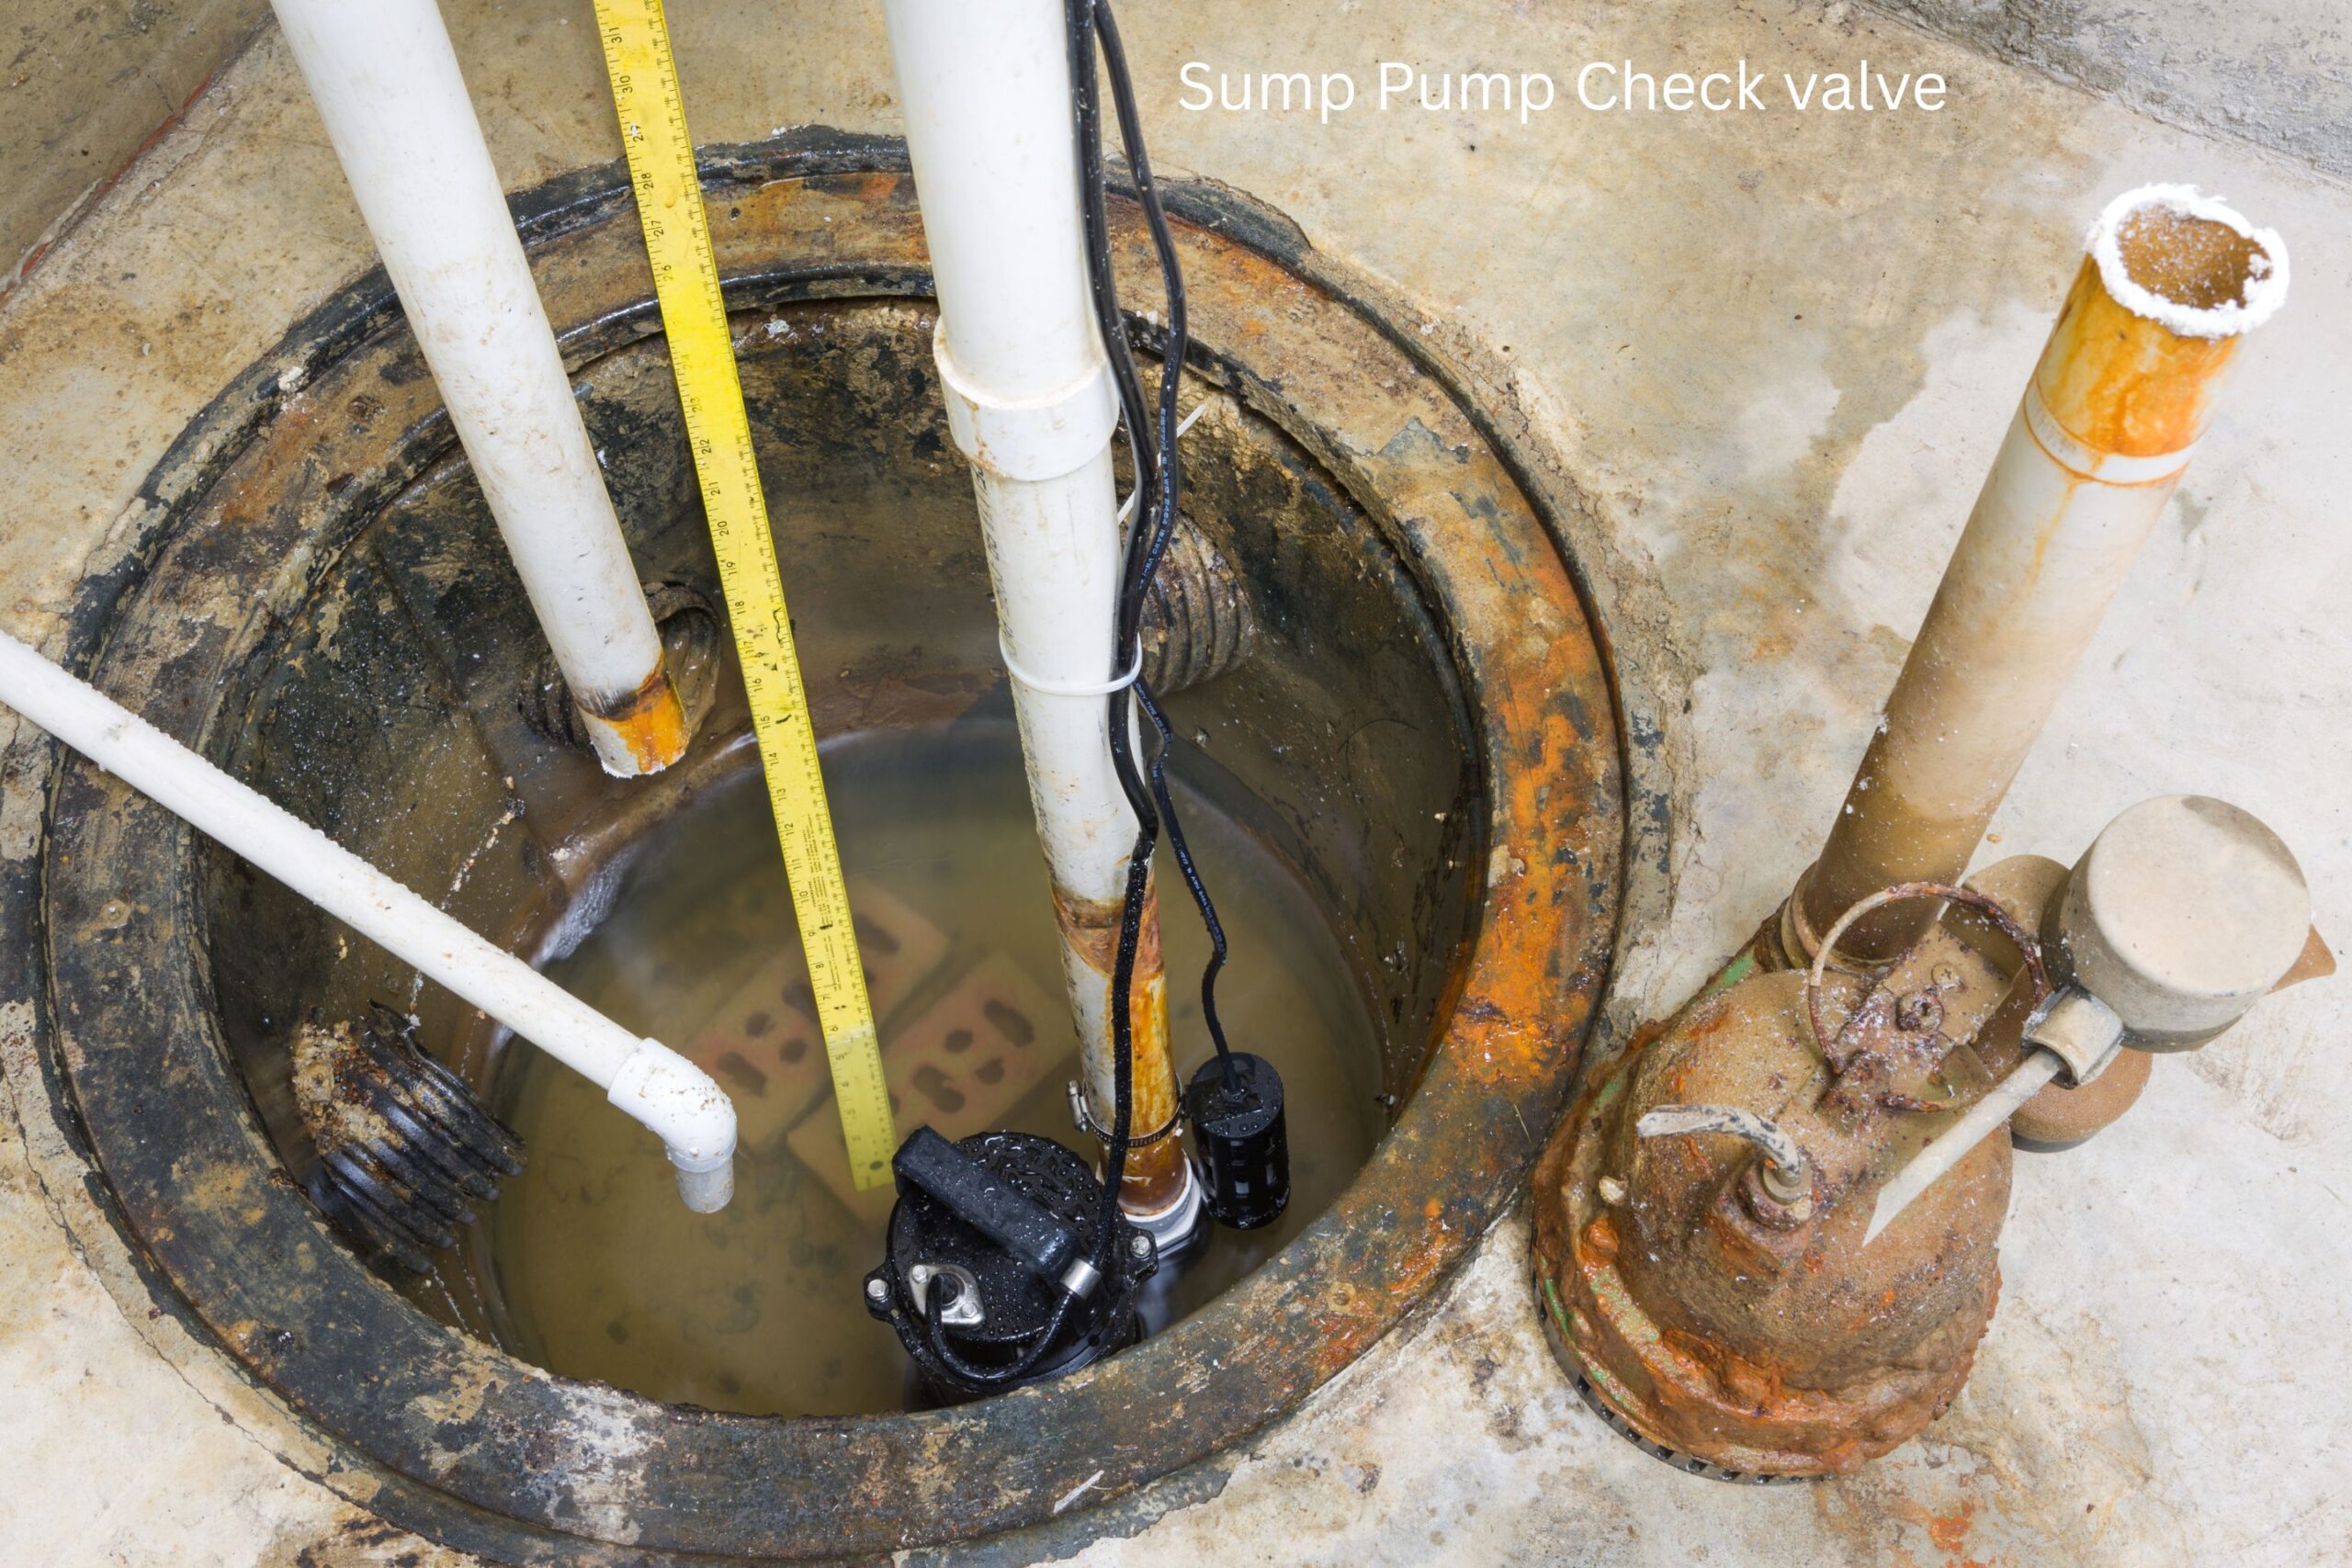
A check valve is a one-way mechanical flapper installed on the vertical PVC discharge pipe directly above your sump pump basin.
- One-Way Seal Closed: Snap closes firmly when the motor shuts off.
- Water Trapped Above: Holds 5–10 gallons in the pipe without backflow.
- Basin Remains Dry: Prevents short-cycling and motor overheating.
- Mold Protection: Keeps relative humidity inside the pit under control.
- Flapper Broken or Stuck Open: Fails to create a tight water seal.
- Continuous Backflow: Water rushes straight back down into the basin.
- Motor Short-Cycling: Re-pumps the exact same water until it burns out.
- Mold Hazard: Standing water elevates humidity, inviting fungal spores.
When ground water fills the pit, the float switch activates the motor, pushing water up and out through the discharge line. When the pit is empty, the pump shuts off, and gravity immediately tries to pull the remaining column of water back down into the basin.
The check valve snaps closed, holding that column of water in the pipe above it.
What Happens When a Check Valve Fails?
If your check valve breaks, sticks open, or was never installed, the 5 to 10 gallons of water held in the vertical discharge pipe roll right back down into the basin every single cycle.
This creates a destructive loop known as short-cycling:
The pump empties the pit and shuts off.
The water in the pipe drains backward into the pit.
The rising water level immediately re-triggers the float switch.
The pump turns back on to remove the exact same water over and over again.
This continuous cycle overheats the motor winding, rapidly degrading internal mechanical seals. Eventually, the pump burns out—usually during a heavy storm when it is working hardest.
The Hidden Danger: How Check Valve Failure Causes Basement Mold
Most homeowners view a failed sump pump purely as a plumbing emergency. However, from an indoor air quality perspective, a broken check valve is a primary catalyst for widespread mold spore amplification.
1. Elevated Relative Humidity in the Sump Pit
When a check valve fails, stagnant water sits continuously in the basin. This standing water evaporates directly into your basement or crawlspace air. When indoor relative humidity levels exceed 60%, organic building materials—such as wooden rim joists, sub-flooring, and unfinished drywall—begin absorbing moisture, creating ideal conditions for fungal growth.
2. Sudden Flooding and 24-Hour Mold Spore Activation
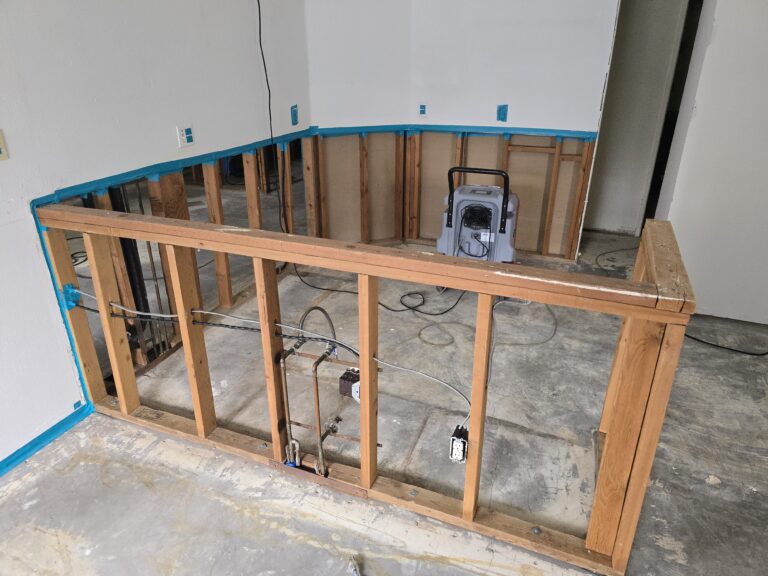
When an overworked pump motor burns out during a storm, standing water overflows the pit, saturating surrounding sub-flooring, carpeting, and baseboards. Fungal spores require only 24 to 48 hours of constant moisture exposure to germinate.
Without proper drying and preventing indoor mold growth from basement water damage, an unnoticed flood quickly turns into a costly mold remediation project.
How to Test Your Sump Pump Check Valve in 4 Steps
You do not need specialized plumbing tools to determine if your check valve is functioning correctly. Stand near your sump basin and run these four diagnostic checks:
| Diagnostic Test | Normal / Healthy Result | Failure Indicator |
|---|---|---|
| 1. Shut-Off Sound | Solid Thump: Distinct mechanical "clunk" or firm snap when the pump motor stops. | Silent / Gurgling: No sound upon shut-off, followed by water rushing or gurgling inside the pipe. |
| 2. Basin Water Level | Static Water: The water level in the pit remains completely still after the motor turns off. | Heavy Backflow: Water rushes out of the discharge pipe back into the basin, instantly raising the water line. |
| 3. Directional Arrow | Points UP: Stamped flow arrow points upward, away from the pump toward the outdoor discharge. | Inverted Arrow: Arrow points DOWN toward the pump, trapping water in the pit and overheating the motor. |
| 4. Air Relief Hole | Controlled Spray: Small stream of water sprays back into the pit during pumping (prevents airlocks). | No Relief Hole: Pipe lacks a 3/16-inch weep hole below the valve, leaving the pump vulnerable to airlocks. |
1. Listen to the Shut-Off
Pour a 5-gallon bucket of water into your sump pit to trigger the float switch. Stand near the pit while the pump empties the water. When the motor shuts off, listen closely:
Healthy Signal: You should hear a distinct “thump” or “clunk” as the internal flapper snaps closed.
Failure Warning: If you hear no sound followed by gurgling or rushing water, the flapper is stuck open or missing completely.
2. Watch the Basin Water Level
Watch the water level inside the pit immediately after the motor stops running:
Healthy Signal: The water level remains still.
Failure Warning: If you see a heavy stream of water rushing back out of the discharge pipe, your check valve flapper is damaged, clogged with sediment, or failing to seat properly.
3. Verify the Directional Flow Arrow
Look closely at the plastic casing of the check valve. Manufacturers stamp a small directional arrow on the body:
Correct Installation: The arrow must point UP (in the direction of water flow, away from the pump).
Failure Warning: If installed upside down, the valve locks water inside the pit, preventing the pump from discharging water entirely and burning out the motor within minutes.
4. Check for a Relief Hole (Preventing Airlocks)
According to International Residential Code (IRC) plumbing standards, a 3/16-inch weep hole (air relief hole) should be drilled into the PVC discharge pipe between the pump outlet and the check valve.
This hole prevents an “airlock,” a condition where trapped air pockets prevent the pump impeller from moving water even when the motor is running.
While the pump runs, a small stream of water spraying from this hole back into the pit is completely normal and confirms the system is properly vented.
Upgrade Tip: Replace Standard Valves with a “Silent” Check Valve
If your check valve slams loudly every time the pump shuts off, your system is experiencing water hammer—a high-pressure shockwave caused by water abruptly slamming the valve flapper shut. Over time, this severe vibration cracks PVC joints, causing hidden leaks inside your basement walls.
Replacing a standard swing check valve with a spring-loaded silent check valve eliminates water hammer entirely. These valves use a spring mechanism to close the flapper smoothly before water momentum reverses, eliminating noise and reducing stress on your discharge piping.
What to Do If Your Check Valve Has Failed
If your diagnostic tests reveal a failing or missing valve, take these immediate steps to safeguard your home:
Replace the Valve Immediately: Unclamp the old check valve using a screwdriver on the rubber hose clamps, clear any debris from the pipe, and install a new rubber-booted or spring-loaded valve.
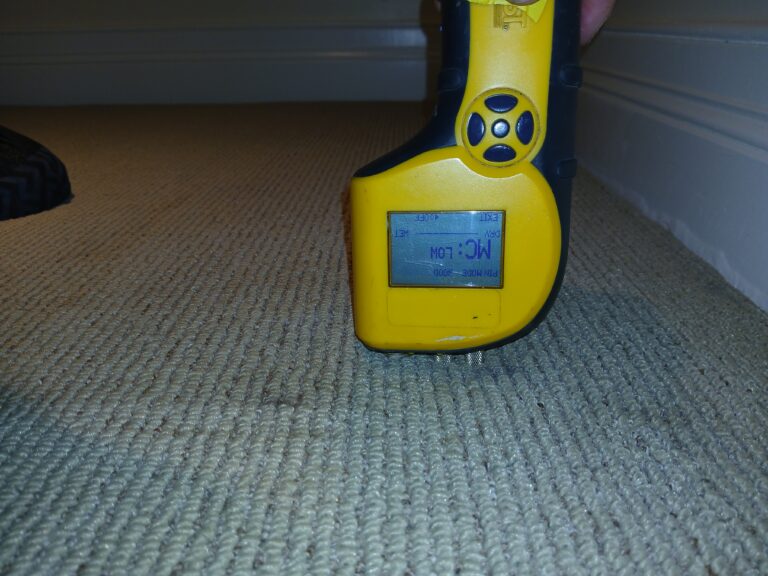
Monitor Indoor Moisture: Check surrounding sub-flooring and drywall with a moisture meter to ensure previous backflow has not saturated building materials. Read our guide on how high relative humidity causes mold behind drywall.
Inspect for Mold: If your basement previously flooded due to a burned-out pump, inspect joists and carpet padding for discoloration or musty odors. Review our step-by-step guide on remediating basement mold if you discover active fungal growth.
Install a Battery Backup System: To safeguard against power outages or primary pump mechanical failure during heavy storms, install a secondary battery-backup sump pump equipped with its own dedicated check valve.
Dont suffer from sump pump check valve failure. By spending $15 and 20 minutes inspecting your sump pump check valve, you protect your basement from catastrophic flooding, extend your pump’s operating life, and maintain a healthy, mold-free home.