
Quick Takeaways
- The Trapped Moisture Problem: Applying waterproofing paint on basement walls does not stop groundwater from entering foundation concrete; it traps moisture inside the wall cavity where it accelerates peeling, bubbling, and concrete spalling.
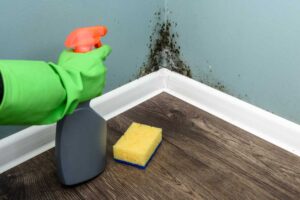
- The Mold Danger: Water locked behind impermeable paint breaks down organic paint binders under 100% relative humidity, creating hidden colonies of Aspergillus and Penicillium mold behind the paint skin.
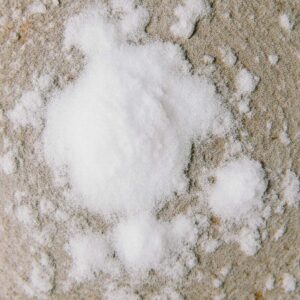
- Efflorescence Confusion: White, chalky powder on basement walls is often mineral salt (efflorescence), not mold. Painting over it without fixing water intrusion causes immediate surface coating failure.
- The Correct Fix: Real basement moisture control requires solving exterior drainage first (clearing gutters, extending downspouts 5+ feet, regrading soil) or installing sub-slab interior drainage tile to relieve hydrostatic pressure.
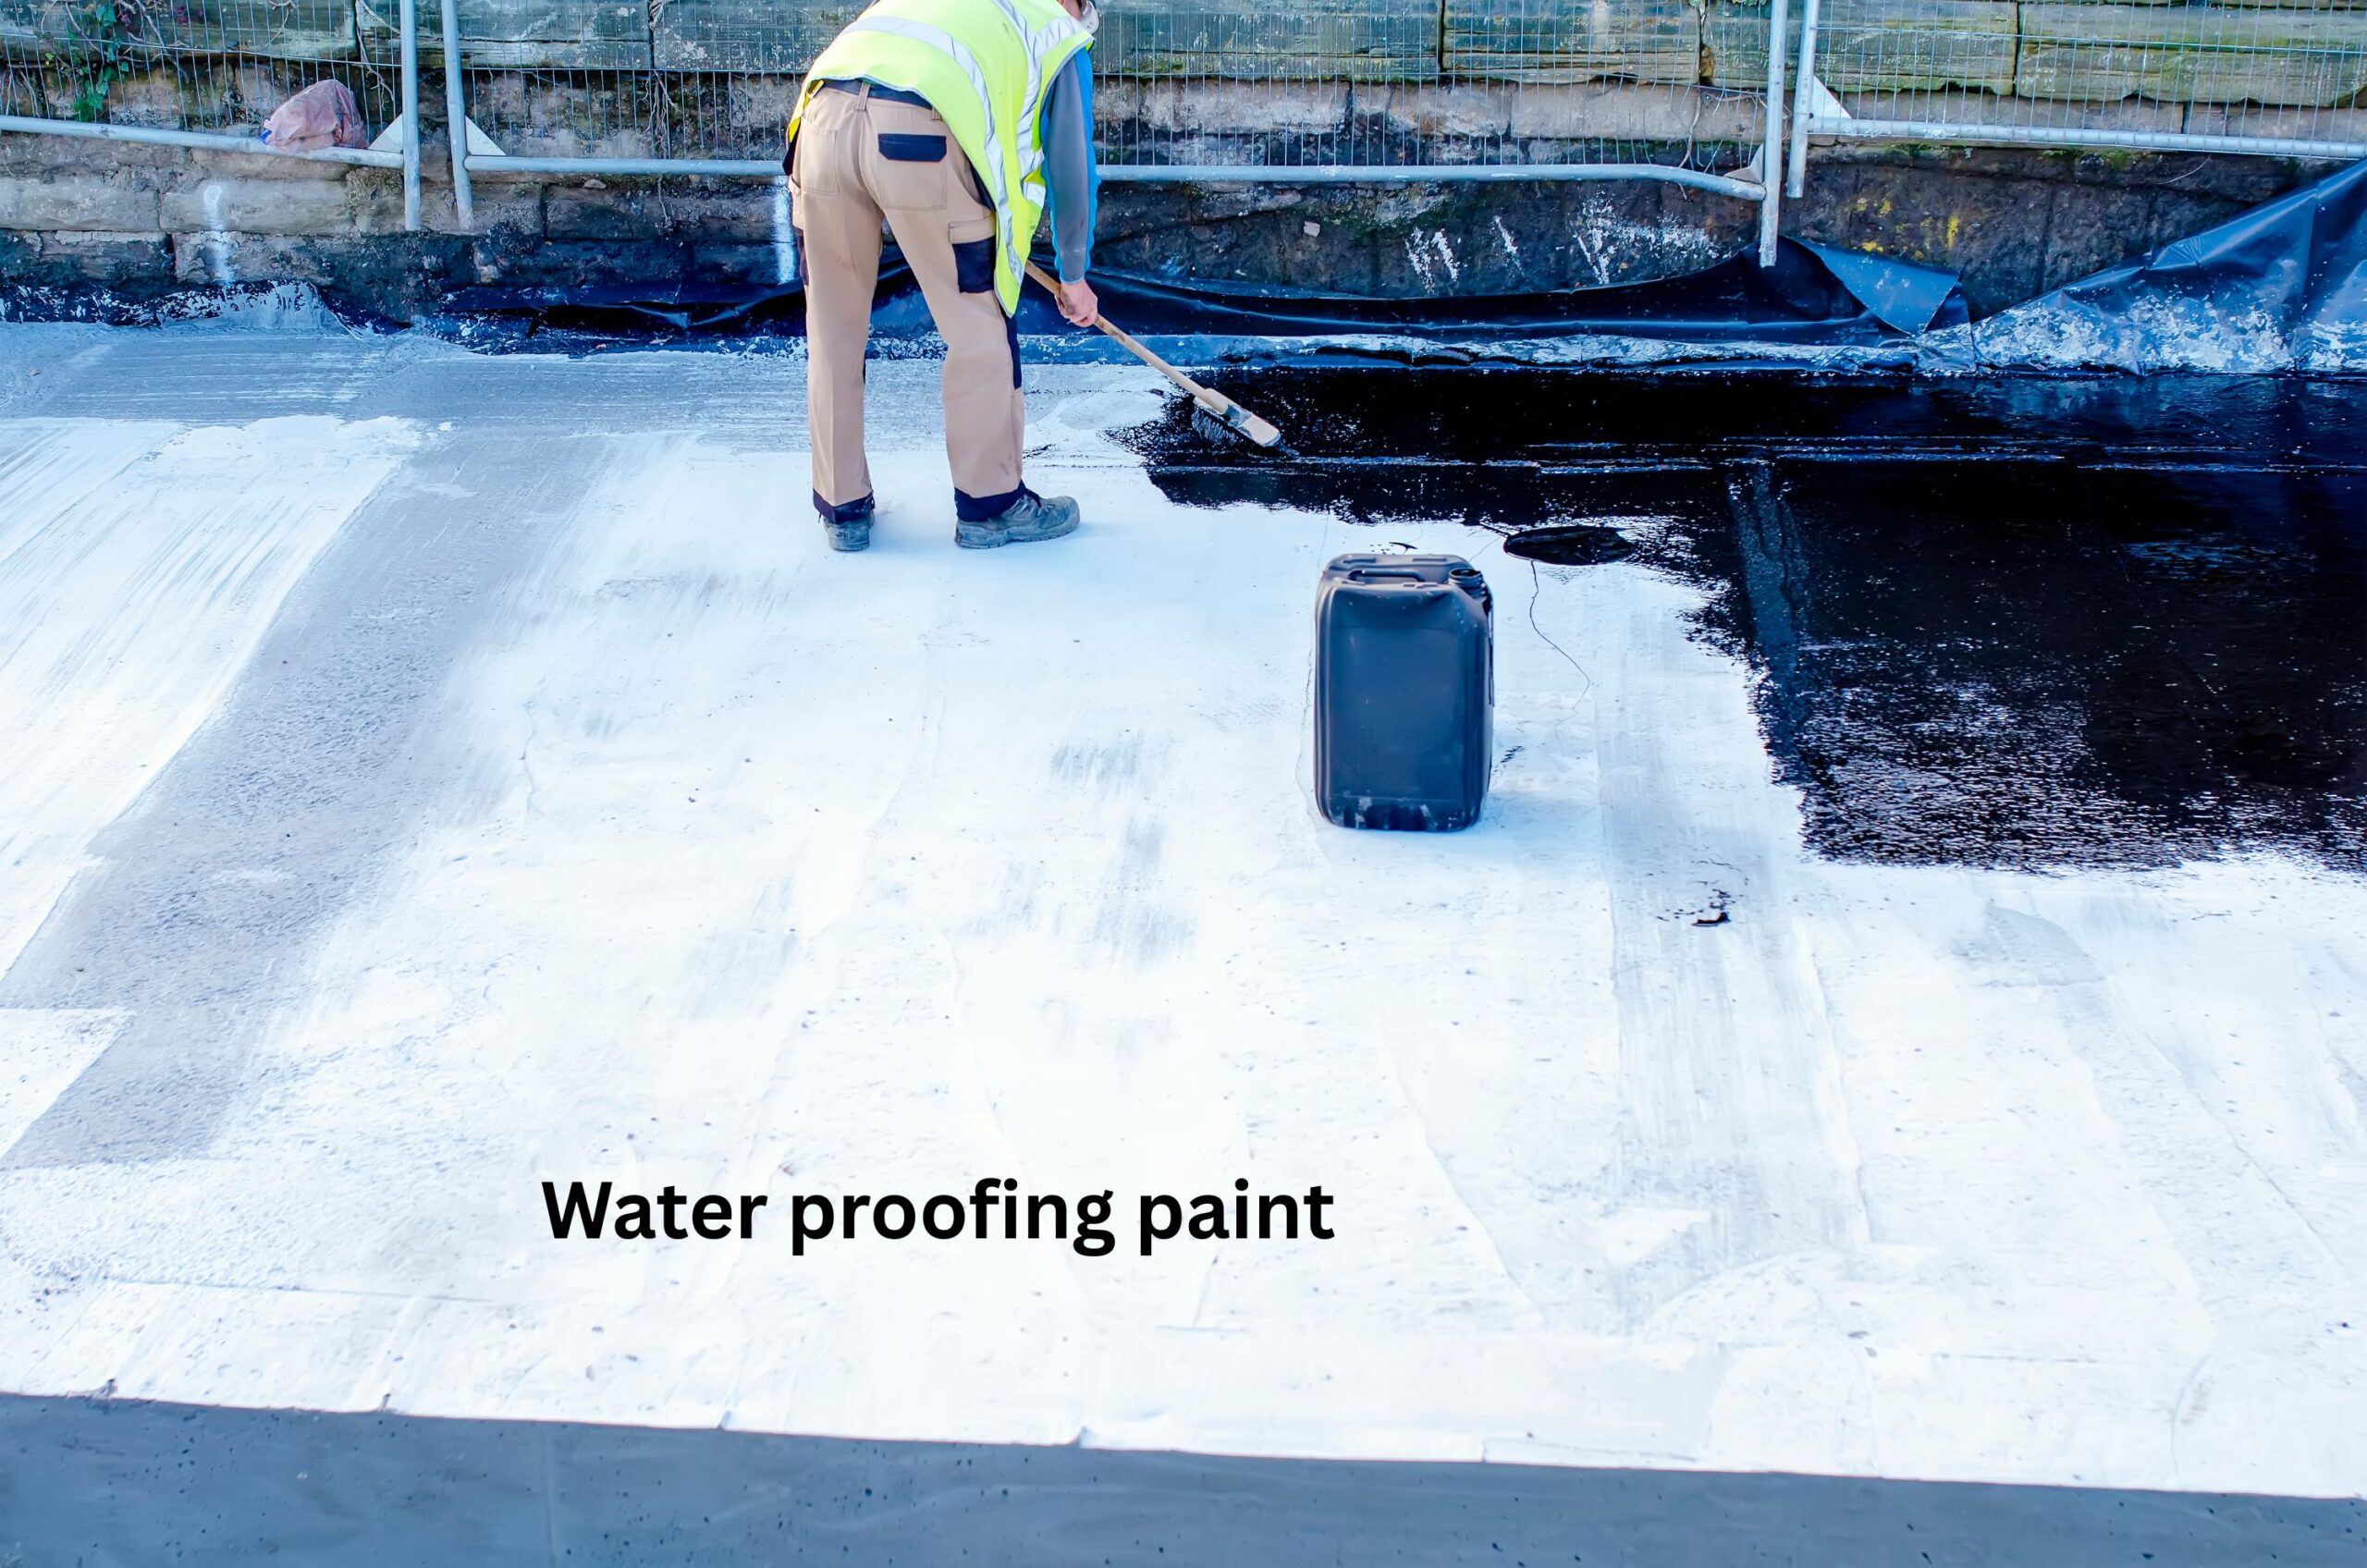
Waterproofing Paint on Basement Walls: Quick Fix or Foundation Trap? When homeowners notice dampness, musty odors, or chalky white stains on concrete basement walls, the most common weekend project is heading to the hardware store for a bucket of thick, waterproof masonry paint.
At first, the results look impressive. The dark, damp concrete is replaced by a bright, clean white surface.
However, building science tells a very different story. While interior waterproofing paint creates an immediate cosmetic improvement, it acts as a moisture trap that accelerates concrete structural degradation, causes widespread paint peeling, and creates an ideal breeding ground for toxic indoor mold.
Here is why applying waterproofing paint to interior foundation walls fails, how trapped moisture triggers hidden mold growth, and what you must do to solve basement water intrusion permanently.
The Building Science: Why Interior Waterproofing Paint Fails
To understand why interior masonry paint fails, you must understand how concrete interacts with water.
Concrete and concrete masonry units (CMUs) are naturally porous materials. They act like dense sponges, pulling groundwater through foundation walls via capillary action.
When heavy rain saturates the soil surrounding your foundation, it generates hydrostatic pressure—the physical force of standing water pushing against your basement walls.
1. Water Is Trapped Inside the Wall Matrix
When you apply a thick, vapor-impermeable paint coating to the interior face of a concrete wall, you do not stop water from entering the foundation. You simply stop it from evaporating into the basement air.
Groundwater continues to migrate through the concrete, becoming trapped directly behind the paint film.
2. Hydrostatic Pressure Blisters the Paint
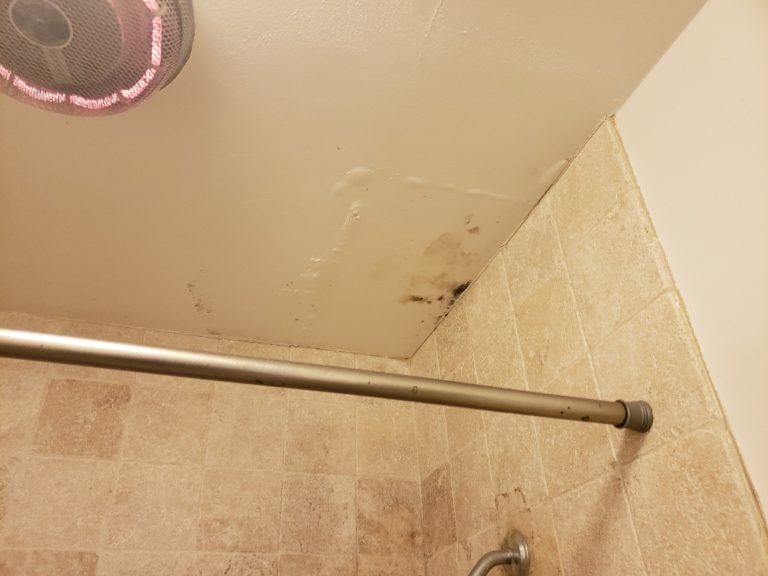
Waterproofing paints on basement walls are rated to withstand limited water pressure (typically 10 to 15 psi). However, saturated soil can exert far greater force. As water accumulates behind the elastic paint membrane, hydrostatic pressure forces the coating away from the concrete, resulting in large, water-filled blisters, flaking, and peeling within 6 to 12 months.
3. Accelerated Spalling and Structural Degradation
When moisture remains trapped inside concrete block cavities, dissolved minerals crystallize as the water attempts to dry. This process creates efflorescence—white, powdery salt deposits. As these salt crystals expand inside the porous concrete matrix, they exert internal pressure that causes the surface to crack, crumble, and flake away in a process known as spalling.
The Mold Trap: How Trapped Moisture Feeds Fungal Growth
From an indoor air quality and environmental testing perspective, painting over damp basement walls is one of the primary drivers of hidden fungal amplification.
1. Organic Nutrient Source
Clean concrete is an inorganic material that does not support mold growth on its own. However, latex-based waterproofing coatings contain organic polymers and fillers. When water stays trapped behind the paint film, it breaks down these compounds, providing the exact organic nutrient source fungal spores need to germinate.
2. Sub-Surface Fungal Colonies
Because the paint creates a physical barrier, mold grows unseen between the back of the paint skin and the face of the wet concrete. Homeowners are often unaware of massive fungal growth until the paint blisters burst open, releasing concentrated loads of Aspergillus or Penicillium spores directly into the home’s indoor air.
Learn more about how high relative humidity causes mold behind drywall and interior coatings.
3. Efflorescence vs. Mold Confusion
Many homeowners apply paint because they see white, fuzzy growth on concrete walls. In many cases, this substance is efflorescence—harmless mineral salts. However, painting over efflorescence without addressing the underlying moisture problem traps water, ultimately turning a benign mineral issue into an active fungal contamination site. Review our guide on identifying efflorescence vs mold on concrete before applying any surface treatment.
Comparing Basement Moisture Control Strategies
| Method | Primary Function | Expected Lifespan | Mold Prevention Rating |
|---|---|---|---|
| Interior Waterproofing Paint | Cosmetic surface seal on interior walls. | 6 to 18 Months | Poor (High Mold Trap Risk) |
| Exterior Drainage & Regrading | Diverts bulk rainwater away from foundation walls outside. | 10 to 20+ Years | Excellent (Stops Intrusion) |
| Interior Drainage (French Drain) | Captures wall seepage under slab & routes to sump pump. | Life of Structure | Excellent (Relieves Pressure) |
| Vapor Barriers (Dimple Mat) | Directs wall condensation down into sub-slab drain. | 20+ Years | Good (When Vented Properly) |
The Correct Solution: 3 Steps to Permanent Moisture Control
According to Building Science Corporation research on foundation moisture management and standard International Residential Code (IRC) plumbing and drainage guidelines, resolving basement wall dampness requires stopping water outside or managing hydrostatic pressure internally.
Step 1: Manage Surface Water Outside First
More than 80% of all basement dampness issues stem from poor exterior site drainage. Before spending thousands on interior systems:
Extend Downspouts: Discharge rainwater at least 5 to 10 feet away from foundation walls.
Clean Gutters: Ensure gutters do not overflow during heavy downpours.
Regrade Soil: Slope ground soil away from the foundation at a rate of 6 inches over the first 10 feet.
Step 2: Install Water Management Systems for High Groundwater
If your home sits on a high water table or experience severe hydrostatic pressure, exterior surface improvements may not be enough.
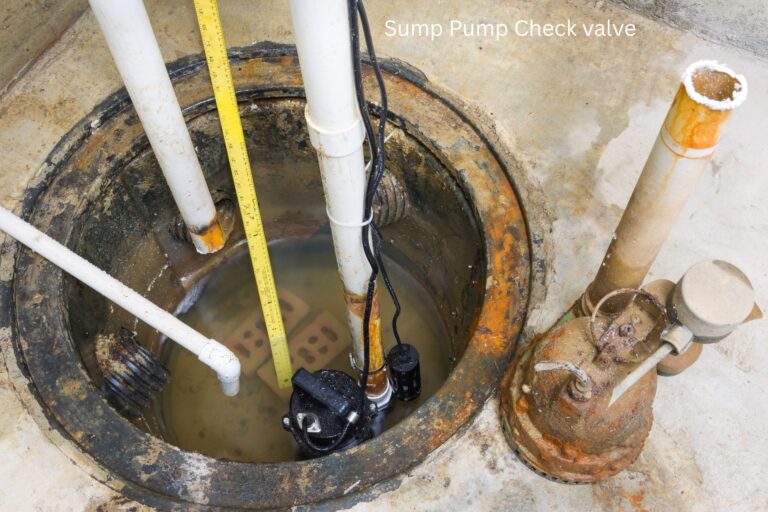
Interior Perimeter Drain Tile: Install a sub-slab perimeter French drain connected to a sump pump. This system relieves hydrostatic pressure by catching water at the footing level before it reaches wall surfaces.
Dimple Board Drainage Mats: Combine sub-slab drains with semi-rigid dimple boards installed against concrete walls to allow moisture to drain down into the sump pit safely without damaging finishes.
Step 3: Mechanical Dehumidification
Once water intrusion is addressed, manage ambient indoor moisture using a commercial-grade basement dehumidifier. Maintain indoor relative humidity below 50% to prevent airborne fungal spores from settling on organic stored items or exposed joists.
What to Do If You Already Painted Your Basement Walls
If you have already applied waterproofing paint and notice blistering, flaking, or musty smells:
Scrape and Remove Failing Paint: Mechanically remove peeling paint using a scraper or wire wheel to expose the concrete and allow trapped moisture to evaporate.
Perform Mold Testing & Remediation: If dark staining or heavy fungal colonies are discovered behind peeled paint, follow our step-by-step guide on remediating basement mold.
Address Exterior Drainage: Fix downspout extensions and soil grading before attempting any interior cosmetic repairs.
Use Vapor-Permeable Finishes: If repainting for aesthetics after fixing drainage issues, use breathable mineral silicate paints or leave the concrete bare.
By prioritizing exterior water management and proper internal drainage over quick-fix paint coatings, you protect your foundation’s structural integrity and maintain a safe, mold-free living environment.